

Sand hill Screwmoss: An illustration challenge

Sand hill Screwmoss Syntrichia ruraliformis ruraliformis is one of the species completed for a recent commission. There were thirteen species of plant I had to illustrate which were growing on Braunton Burrows sand dunes, and the one that occupied me most was certainly this lovely moss.
For an overview of the other species illustrated, please check out my blog on the Wildflowers of Braunton Burrows.
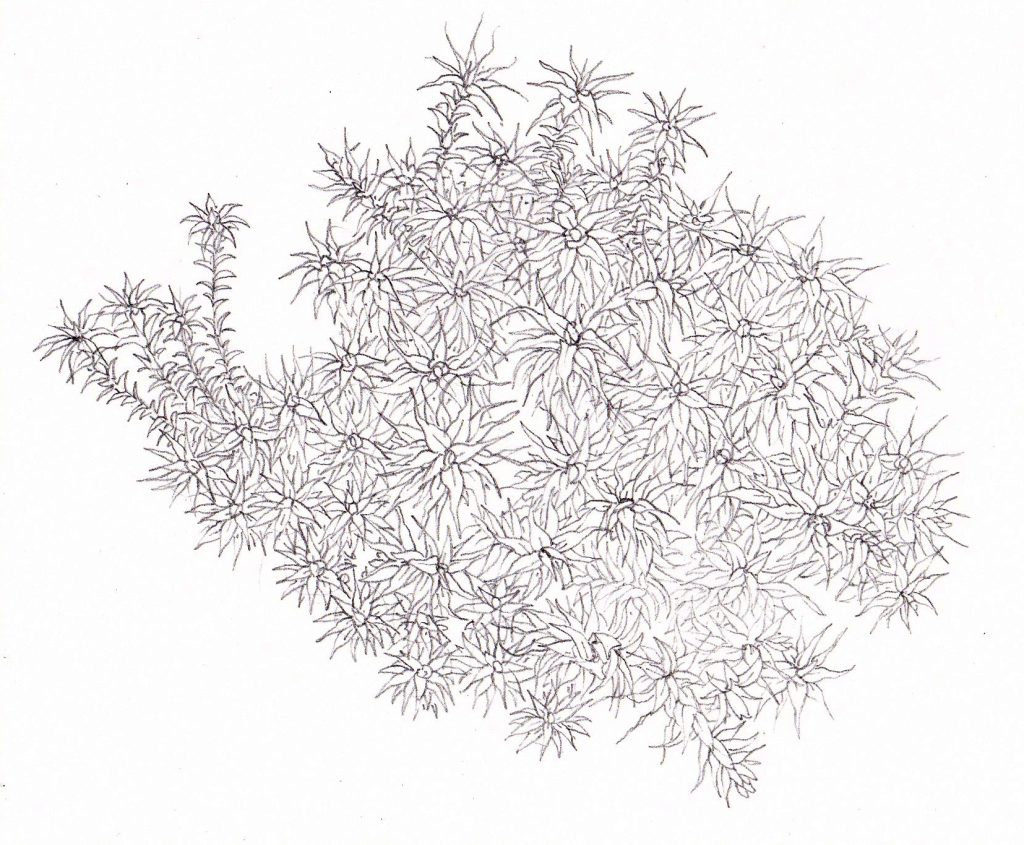
Star moss
Quite a few mosses look starry when viewed from above. This is because the leaves at the tip of the shoots curve sharply outwards and downwards. Often they look very different when dry, which is true for the Screwmoss too.

Heath star moss Campylopus introflexus when wet
Heath star moss Campylopus introflexus when dry
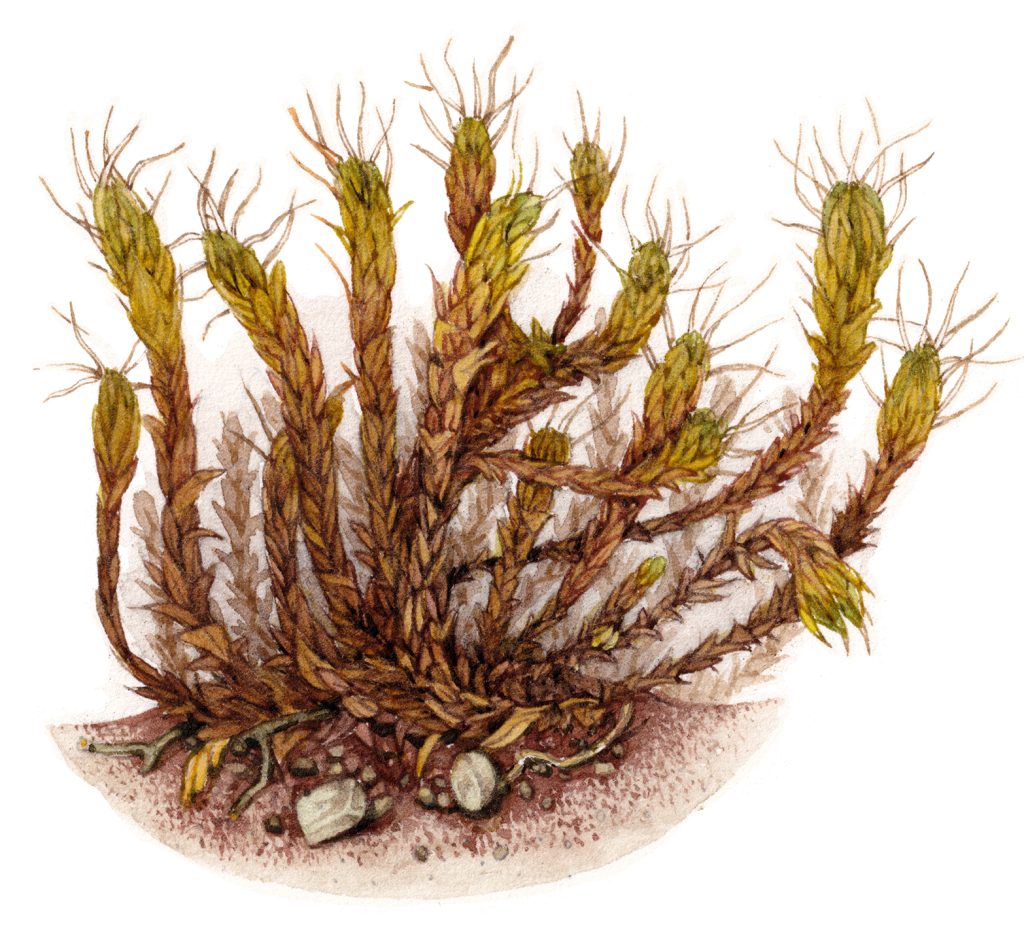
Sand hill Screwmoss
Sand hill Screw moss is quite a distinctive species, which isn’t always the case with mosses. As with other star-like mosses, it has strongly recurved leaves. This species also has long hyaline hair points. The leaves curve out, away from the stem when they are wet. This gives a star-like appearance from above. As mentioned, other moss species can also look starry from above, but the colours of the Sand hill Screw moss make this species really obvious.
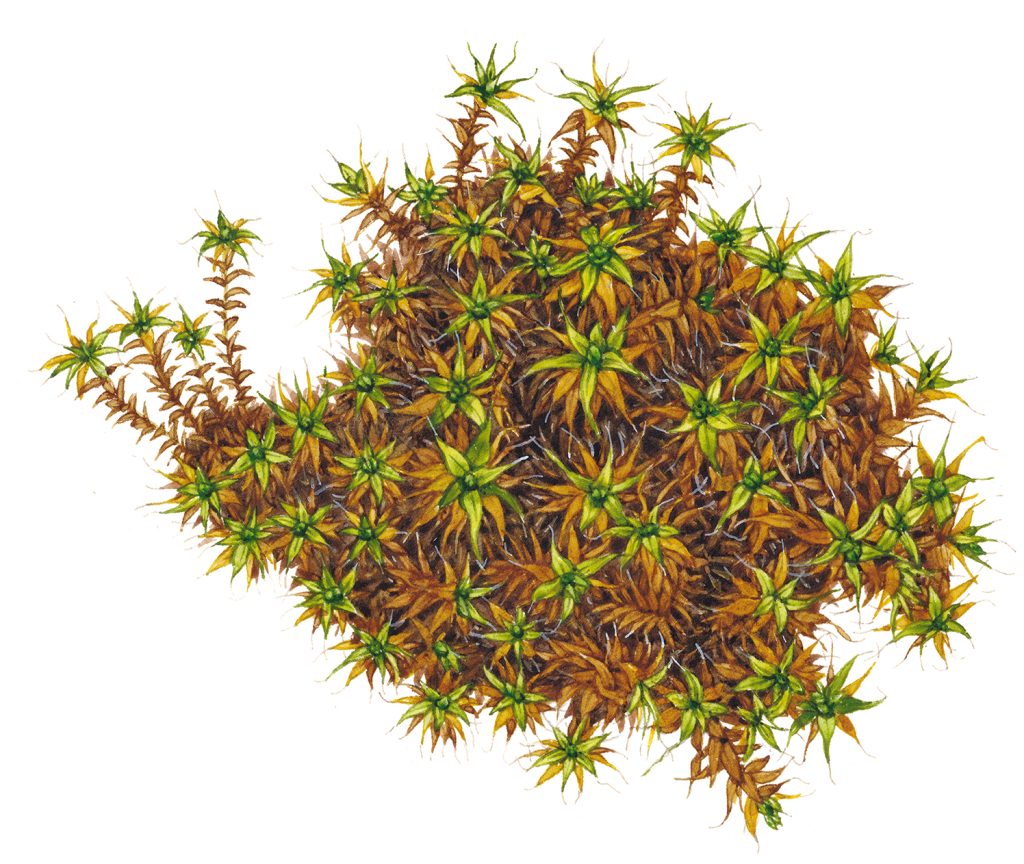
The leaves at the top of the shoot are a bright green. These gradually become yellower as you travel down the shoot. The lowest leaves are dark brown. In effect, this means the moss is a brown carpet, spangled with bright green stars. The hair points add to the beauty of this colour scheme.
In the wild, much of the moss may be below ground level, hidden in the sand. For this reason, it’s probably been overlooked in many localities. The fact that it’s so unobtrusive when dry could add to this. However, in the recent BSBI atlas, it’s been increasingly recorded inland, especially in East Anglian areas.
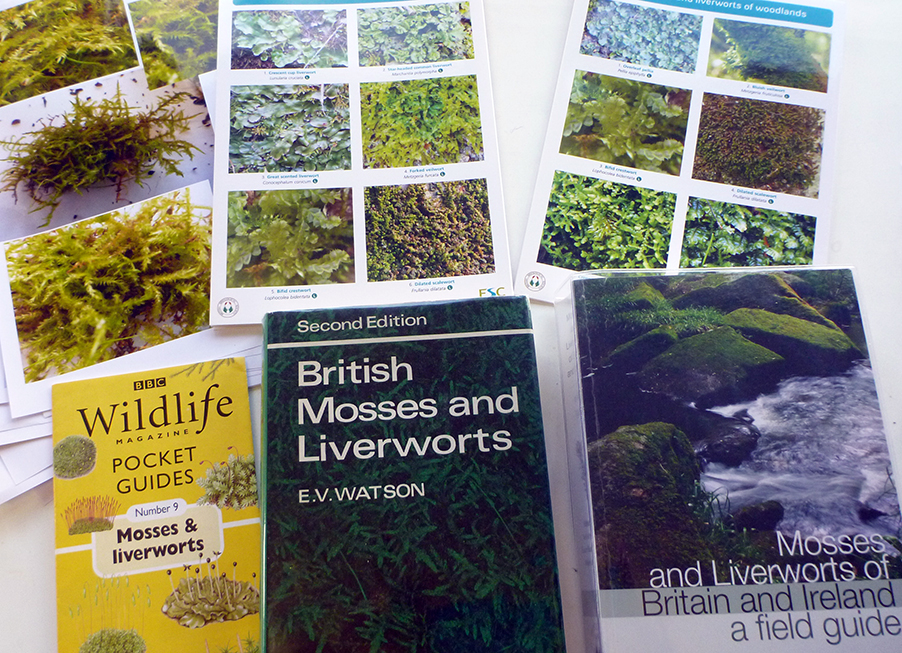
For details on how to identify this moss from the BSBI, check out the link to their online handbook. I use a lot of textbooks too, when it comes to illustrating mosses. Trying to tally the characteristics I see with those that are species specific is always a test. I also use FSC foldout guides.
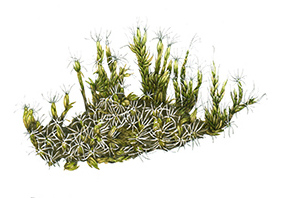
Sand hill Screwmoss: Dry specimens
When dry, the Screwmoss leaves compress against the stalk of the plant. This turns the green stars into dried out twists. They look like off cuts of brown wool, and far less engaging than the wet form.
The hair points stay rigid, so the whole moss looks spiky and scruffy.
Luckily for me, the Sand hill screw moss only rarely produces capsules, so that was one less detail to illustrate.
How to illustrate a moss
I’ve been asked to paint mosses before, and have developed a technique that sort of works. It has to be said, Ive never painted a moss without the specimen in front of me, and I don’t think I’d be able to.
I’m very short sighted, so take one contact lens out. This means the world is very blurry, but I can see up close in immaculate detail. The other eye remains with a lens in, allowing me to see the paper and paint box so I can accurately mix colours. You can see my nose is almost touching the specimen (Apple fountain moss) in this photo.
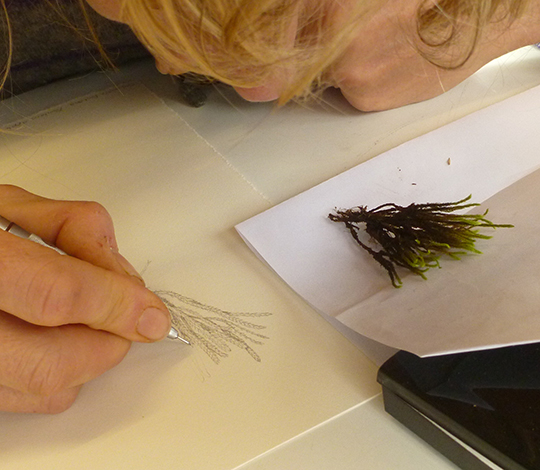
I start by drawing the moss up in pencil, from life. This is exhausting and has to be done all at once, as I’d never find where I paused if I took a break. You have to draw enough of the moss to give a proper feel for it, but you really don’t want to draw so much that you’re there for ever.
Screwmoss: Wet and Dry
With the Screw moss, there was the added complication of moisture. I’d been sent a lovely specimen by Simon Norman of FSC Publications, so I arranged this on a dinner plate. There was sand with the specimen, so I spread this out below. I kept one half of the plate really wet. The other I allowed to dry out completely. As I drew the wet specimen, I had to continually add water. The moss began to curl up really soon as the water evaporated.
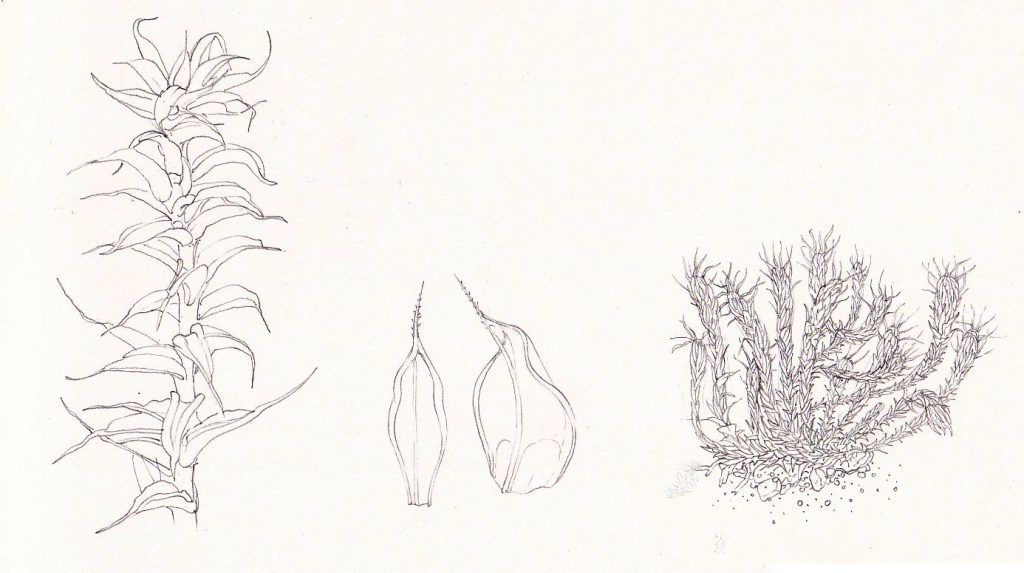
For clarity’s sake, I inserted a sheet of white paper to isolate the discreet tuft of moss I was drawing. I also got one shoot and one leaf and drew these under my dissecting microscope. Next I did the same with an isolated leaf. As described in the handbook, there were indeed colour-less patches of hyaline cells at either side of the midrib.
After submitting the rough, I waited for feedback and kept everything crossed that no alterations would be requested.
The photo below, of Woolly Hair fringe moss, shows how small these illustrations are, and why I need to use a tiny brush. And why making alterations requires a full re-draw.
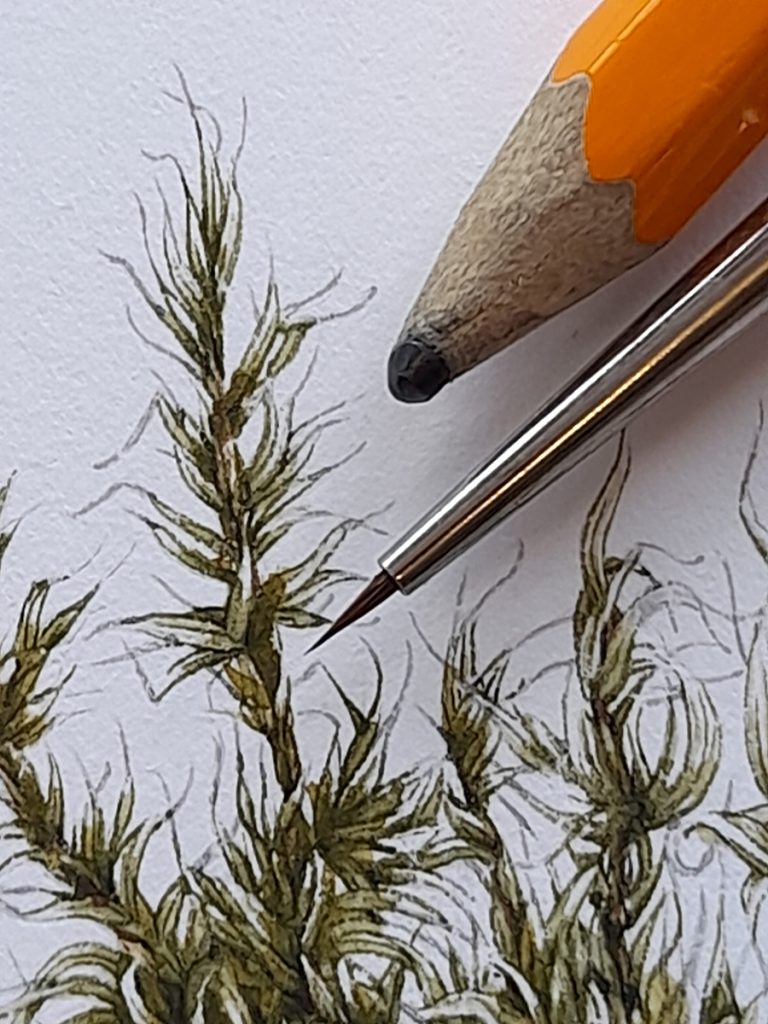
Woolly Fringe moss Racomitrium lanuginosum
Adding colour to the screwmoss
It was an enormous relief to get the go-ahead on the moss.
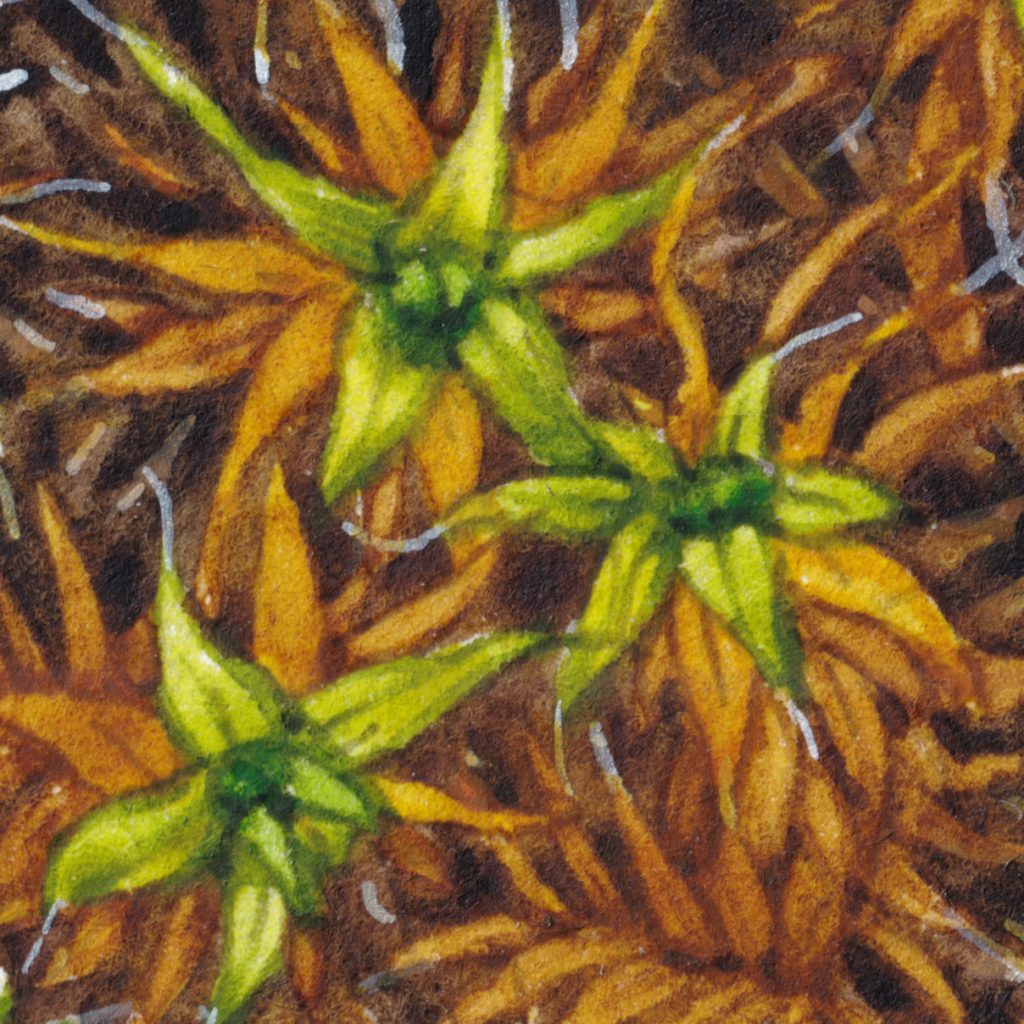
The challenge was to create a suitably complex background to offset the green star tips. This was done by painting the initial lower stem leaves in golden browns. Then blocking in the background with a darker brown. Once dry, I added more layers of leaves and stems to these places between the other stems. I kept working into these spaces, trying to give them more and deeper layers.
Finally, once this background had enough depth, tone, and texture, I mixed a bright green and added the green shoot tops.

The colour is not entirely true to life. It’s too bright and too pale. But had I echoed the actual darkness of the hues, the illustration was have been visually illegible. A diluted top wash of Dr Martins PH Yellow light ink helped bring the browns and greens together, and added a kick of colour.
Illustrating one shoot and one leaf
This was another challenge, I’m used to drawing whilst looking through a microscope. But painting? There was a lot of staring, colour mixing, checking, staring…. Eventually I got the colours I wanted. these altered almost for each leaf on the shoot. Less green at the base, full verdant hues at the shoot tip.
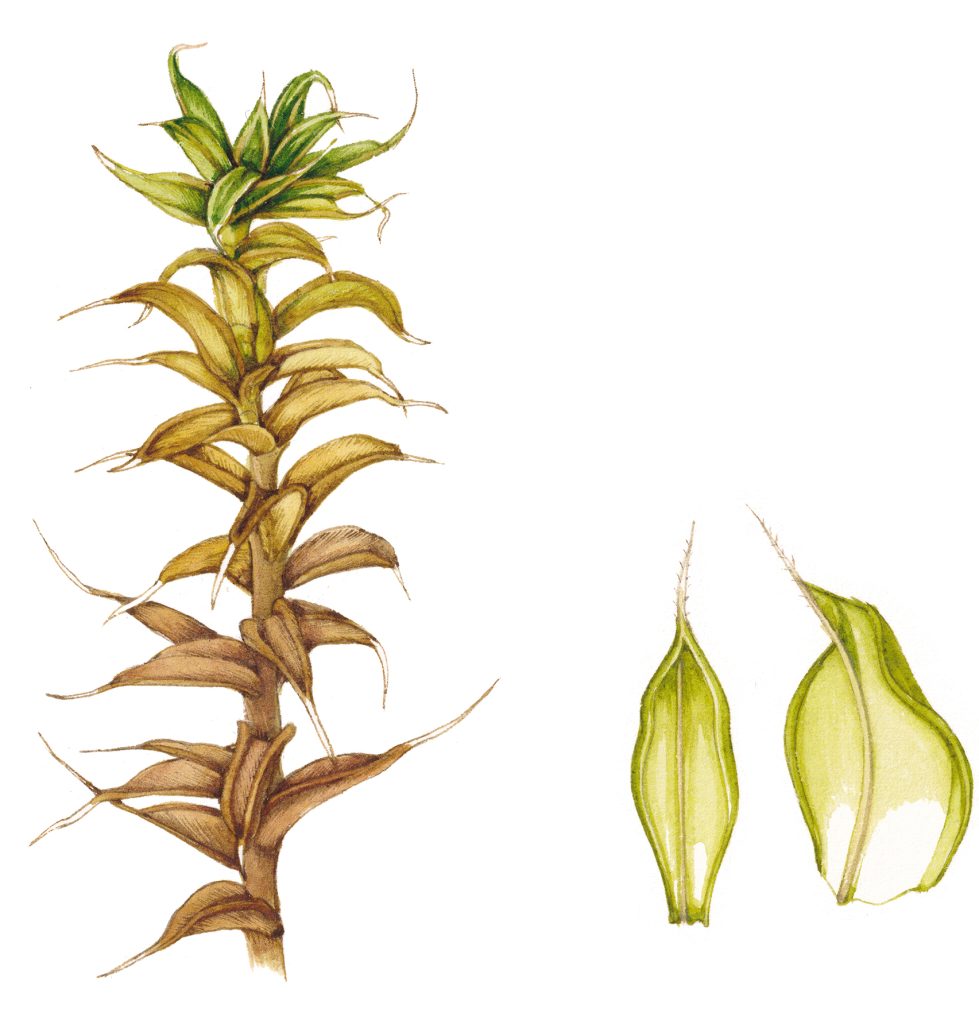
I outlined the hyaline leaf points with a grey paint, and on the leaves I added the side points to them. These were magnified something like 15x or more.
Again, drawing from life makes this job so much easier. Figuring out one leaf from the next in a photo would be horribly challenging.
Conclusion
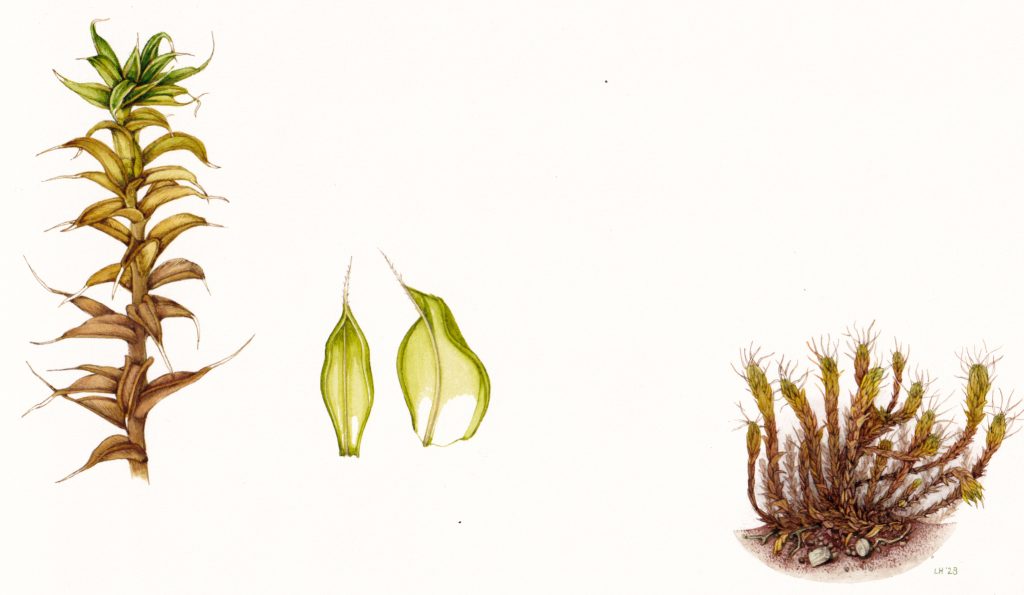
When I was finished, I was really pleased with the results. The illustration had the thickness of texture and depth of space I wanted, especially in the wet specimen. The dry version looked suitably twisted and apressed, and I think the substrate added to the feeling of dessication. The details and dry specimen are illustrated on the same page, the wet one is on another sheet.
These moss illustrations took as long as four of the other botanical illustrations done for the Braunton Burrows wildflowers guide. But there’s something infinitely enjoyable about having to work and observe extremely hard. I was left with a feeling of a job well done. And that’s why every time I paint moss, I find myself ready to take on more species. It’s a challenge, but one that feels possible to overcome. If you have a specimen right in front of you, and a small enough paintbrush!
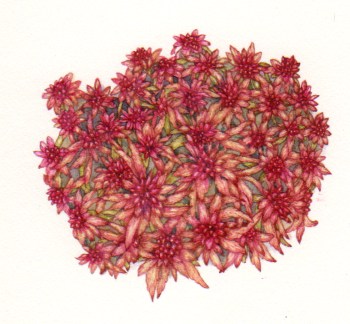
Sphagnum capillifolium
For more on my approach to painting moss, check out my earlier blogs, One on the basic anatomy of moss, another on the processes involved, another on the step by step processes involved in illustrating Sphagnum tenellum, a showcase of my moss illustrations, and another on sketching the Heath star moss Campylopus introflexus.
Wow, I would get lost in all the small details!
I think it is time for you to buy some
https://lcpshop.net/wp-content/uploads/2019/02/166005-0ltjgw.jpg. these might help you.
Hey Ineke
You just might be right! I have seen other illustrators using them… By the way, Im LOVING the paints you sent me. They are so clear and rich. THANKYOU