Exhibitions: Step by step guide
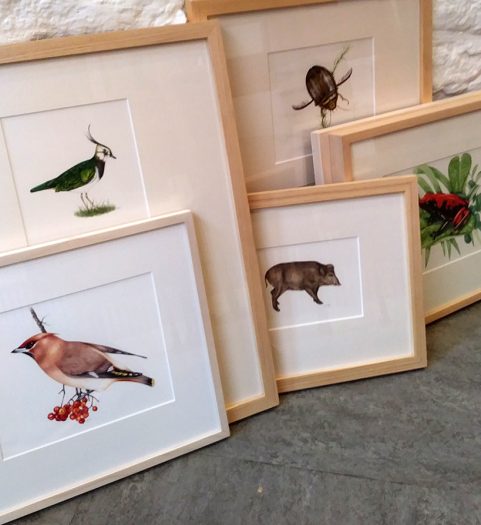
Every once in a while I get around to putting on an exhibition of my illustrations. In many ways I’m incredibly fortunate, as all I need to do is to flick through the past year or two of botanical illustrations and natural history paintings and decide which ones might look good framed up, or might be appealing enough to sell. It’s a good opportunity to see what work I’ve done, and to get some of it out of the attic!
There are many things to sort out when arranging an exhibition, so I thought I’d put together a brief step by step guide.
Venue
First up, even before you’ve chosen what to frame, is to find a place that wants to host you! Sometimes venues approach artists, which could be why you decided to have a show in the first place; if not, look around and see if local eating places or galleries might be suitable, and approach them with samples of your art. Once you’ve sorted out a date, do be sure to visit the gallery space. This will give you an idea of how much wall you need to cover, and helps you to decide where paintings might go once they’re framed up.
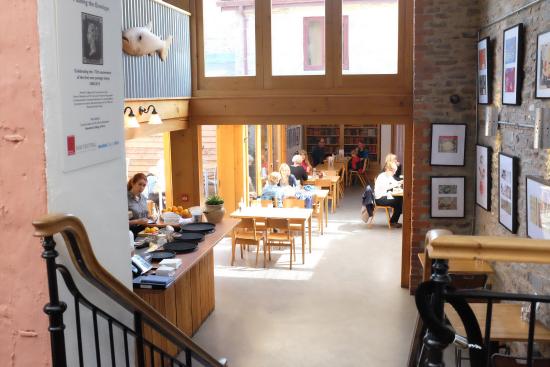
This photo (copyright Tripadvisor) shows the cafe at Booths Bookshop where I’m currently having an exhibition.
What goes where: Choosing what to include
Decide how many paintings you’ll need to fill the alloted space. Have a look at the options and play about with them. I print out little bits of paper with images of possible framed works on and rearrange them on my desk, trying to decide what looks good together. This helps me decide what I need to get framed.
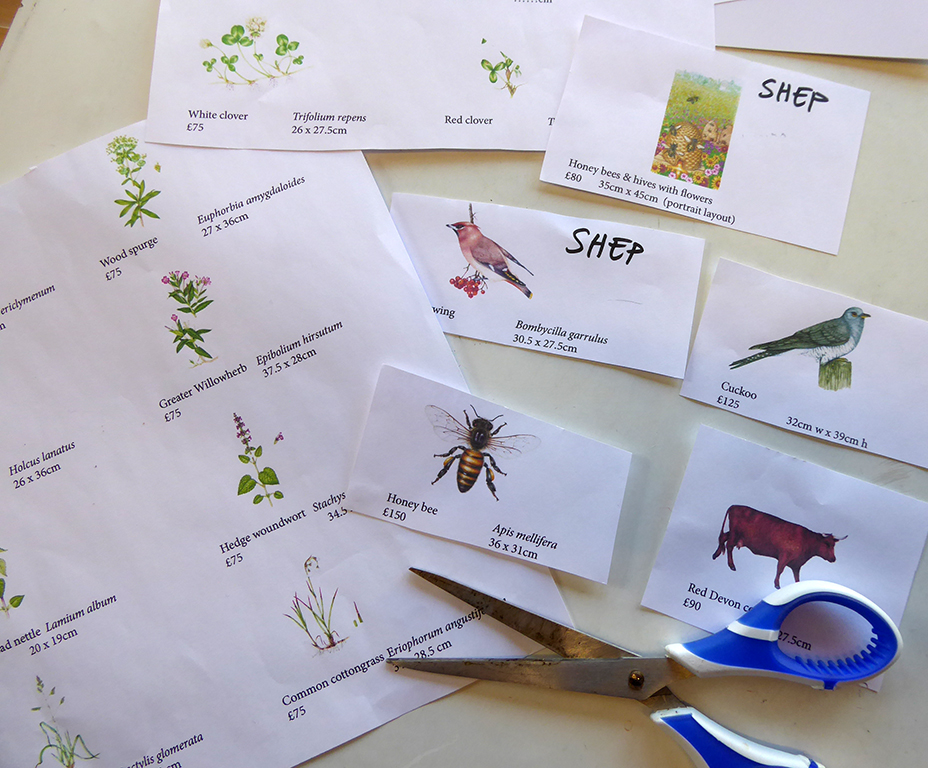
Sorting out what to frame and what looks good together
Framing
Second, get your framing done. Leave a lot of lead time for this (and I mean months not weeks), framers can be incredibly busy and (quite rightly) do not take kindly to being given an enormous amount of work to do at the last minute. Be sure to sign all your work before it goes into the frame ( I say this from bitter experience…)
I use my local and exceptionally good framers, Fitting Frames of Brilley. In fact, they know my work so well now that I can just leave a pile of stuff with them which they transform into beautifully framed paintings.
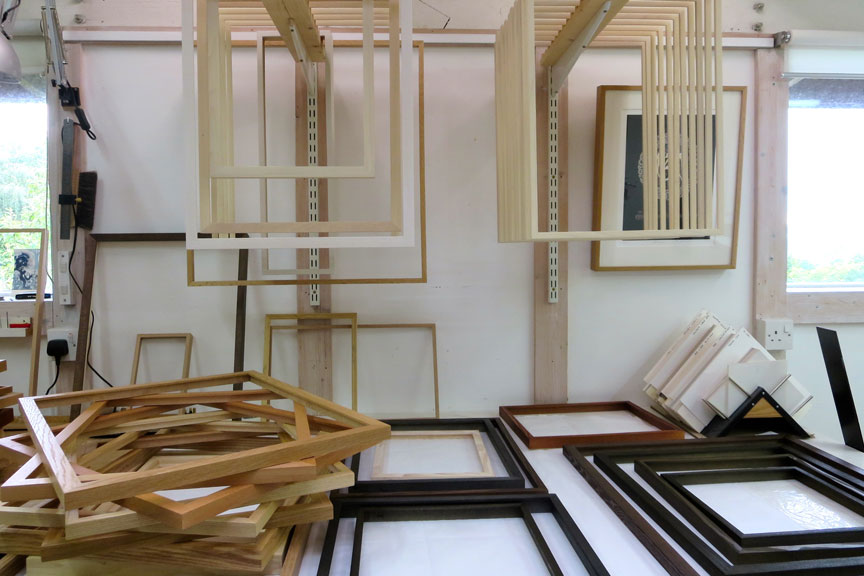
Fitting Frames at Brilley, Herefordshire (photo copyright Fitting Frames)
Preparing Paintings (post framing)
One you get your paintings back, you’ll need to add labels to the back of them. I tend to pop three on. One is my name and contact details (in case the purchaser wnats to buy from you again, fingers crossed!) One warns of colour fading (watercolours fade in direct sunlight, it’s only fair to warn any purchaser that if they put their painting in a really sunny spot it will, over months and years, literally disappear). The last is the name of the work, the price (make sure this tallies with name labels you put up at the show and with the price list – more on this below), and a nice little copyright symbol and your name.
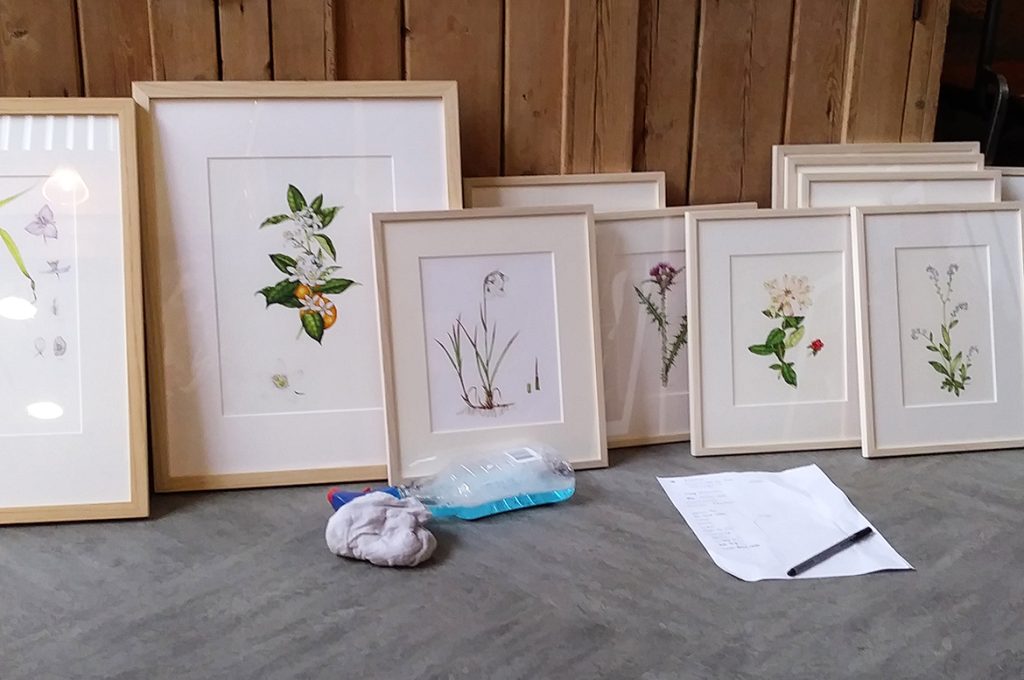
Sorting out paintings for labelling
Storing paintings is quite a personal thing. I tend to wrap mine in brown paper, face to face (this protects the glass). Other people store painitngs in bubble wrap. It’s definitely a good idea to keep them wrapped when they’re not on the wall. Try to keep them somewhere out of the way, mine are in the attic. You don’t want them getting knocked about.
Sorting the details
Find out from the venue if they have all the kit you’ll be needing. If you’re going to sell prints, do they have browsers you can use? If you’re selling greetings cards, do they have display racks and carousels? Do they have a hanging system in place or do you need to go and sort out one yourself (there are lots out there which work brilliantly and won’t break the bank, I have and love the Stas system from Lion framing suppliers). If any of these things aren’t available, order them in yourself, and ahead of time. The last thing you want on the day of your private view is to be stressing because the browser hasn’t arrived yet!
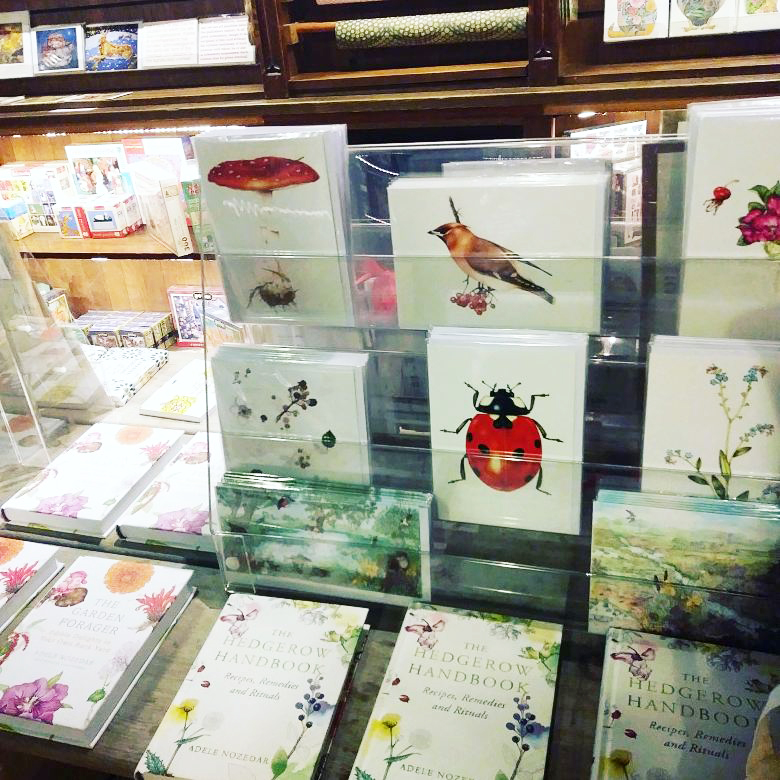
Display of my greetings cards & copies of the Hedgerow Handbook/Garden Forager in Booth’s
Publicity
So you’ve sorted a venue and your work’s at the framers. Now is the time to decide how you’re going to publicise your show. Will you have a private view? If so, who will you invite? When will it be? Is the venue supportive? How much help (and crockery) will they be able to provide? Arrange a time with the venue and sort out the practicalities like wine glasses and who’ll man the tills.
I make a little list with dates on telling me I when need to have completed different areas of pulicity. Any ads in local press need sorting at least a month ahead of time, posters and flyers should be designed about three weeks before they go out, email invites are sent by two weeks before the show opens, posters need to go up locally a week before, flyers for the private view are available that week. Don’t underestimate word of mouth either, tell your friends and family, spread the word!
You’ll be wanting to leave some business cards out for the run of the show, make sure these are ready to go and current.

Poster put up around town a week before the exhibitions opens
Publicity: Social Media
You also need to use any social media platforms you’re on. Facebook allows you to post “events” or to “pin” a post to the top of your feed. Make these posts attractive and interesting. It’s an idea to post a few times if you’re not pinning an event, try to vary the images you use. I like to post two weeks before, a week before, and on the morning of an exhibition.

Instagram post promoting my exhibition
Pricing and Labels
There’s other admin stuff you need to sort out too. Price lists need to take into account your skill, and any commission the gallery space is adding. Don’t sell yourself short. Print out several price lists so one can go on the wall, you can keep tabs on any sales yourself, one can be by the till in the exhibition space.
Make name labels for evey piece you plan on hanging (unless the gallery do their own – it’s always worth asking). Be sure these are consistent in appearance. I find a printed sticky label stuck on the reverse of an out dated business card looks prety good.
You may also be bringing greetings cards, sketchbooks, prints, and other work to sell. Make sure you’ve made (and laminated) labels for all of these things. People won’t buy or look or engage nearly as much if they’ve not been told just what everything is.
Payment and packaging
You also need to sort out how payment and packaging will work. The venue may be in charge of all of this. If not, be sure you’ve ordered in a receipt book (triplicate is good, with your details pre printed on each page (very easy to order online) – one copy for the customer, one for the venue, one for your own records).
It’s worth having a float for small items like cards. Be sure there’s plenty of change in this.
Packaging, if the venue doesn’t provide it, is easy to arrange. Bring a roll of bubble wrap, a roll of brown paper, sticky tape, scissors, and order in some large paper bags. Sorted.
Hanging the show
The day of hanging the show dawns.
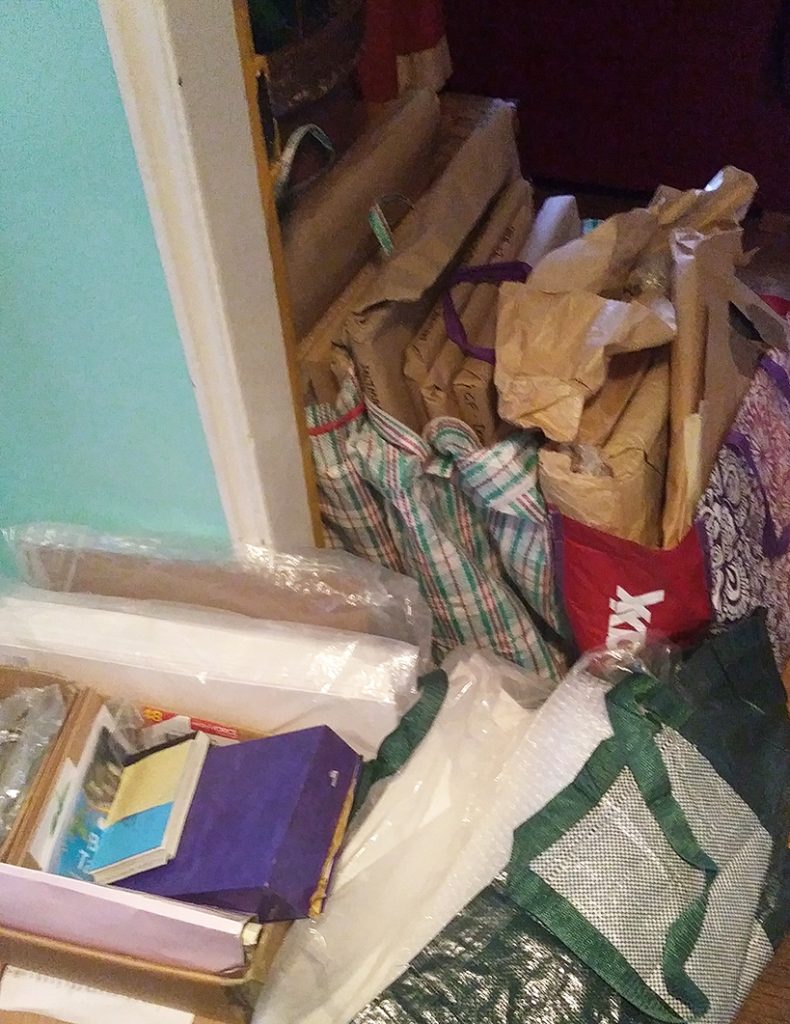
Kit and paintings (in brown paper) to take to the hanging, fresh out of the attic
Assemble your framed paintings, transport and handle them carefully. The last thing you need is a broken piece of glass. Unwrap them as soon as you get to the venue, it’s really helpful having them all laid out and speeds things up no end. Keep the wrappings for after the show.
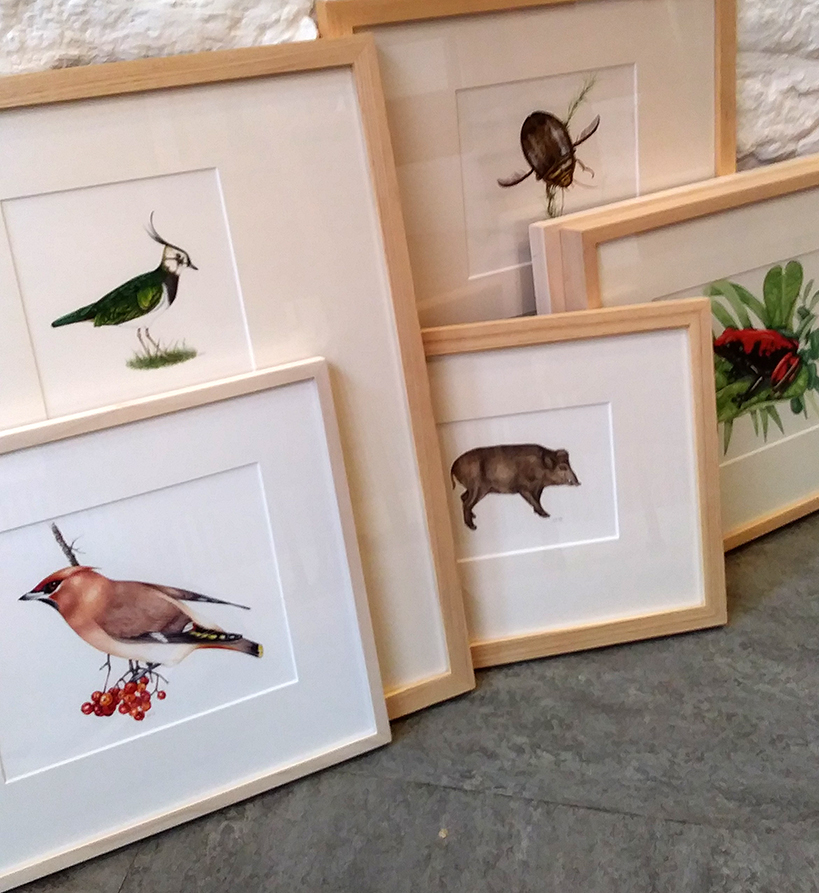
Unwrapped paintings lined up and ready to be arranged and hung
Be sure to have an emergency kit with you as you and your framed work goes to the venue. This should consist of the following:
Scissors, sticky tape, hammer and nail, spare picture cord, window cleaner and two cleaning rags, blue tack, camera, name labels, price lists, any labels for other stuff, cash for a cuppa, and a packetr of sweets (or two).
You also need to have some sticky red dots. You never know.
The gallery may do the hanging for you (hooray!) If not, you’ve got your own ideas on where things should go (remember your planning before you scuttled off to the framers?), and (if necessary) your own hanging system. It’s worth bringing a friend, partly because it can be a two person job, and partly because a critical eye can be really helpful.
Be sure to put the right name labels on or below the right paintings. Be consistent with where you place them.
Give each work a once over with the glass cleaner before it goes up. To avoid damaging the frame, squirt the cleaner direct onto the rag and then clean the glass.
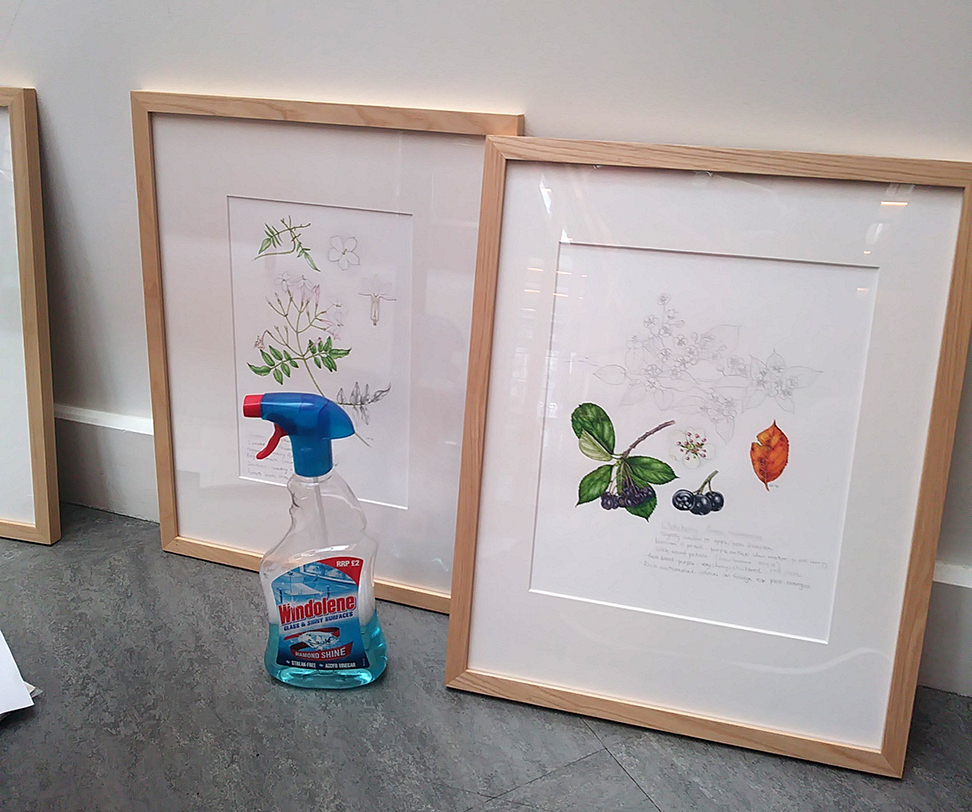
Cleaning the paintings before they’re hung
Private view preparation
It’s often hard to know numbers ahead of time; the fear is that too few people will come so you end up asking the world and its wife. But not all of them will come along. With catering for a private view, it’s better to err on the side of caution and buy in too much, rather than too litlle.
For a basic show, you’ll need to get in red wine, white wine, soft drinks (I find elderflower squash, apple juice and orange juice cover most palletes), and snacks.
Try to ensure you get these on sale or return, and over-cater. There’s nothing to lose by having to pop back with 5 bottles after the private view is over for a refund, but you really don’t want to run out of wine on the night! Often, the place you buy your wine from will also have a wine glass rental service if you need one.
Some private views provide cheeses and posh canopes; I’m afrid I like to guard any potential profits a little more carefully. I put out crisps and peanuts.
It’s a nice idea to add lots of vases of flowers, too.
If you’re putting out things like sketchbooks and your folio (a good idea, people absolutely love to see these things alongside your framed work); be sure there’s a table and that you’ve done labels for them. And be sure to pack them when you load up the car!
Cometh the hour… Your Private View (10 minutes to go)
Be there ahead of time! Be on site at least 30 minutes before the stated opening time. People may arrive early, and it’s important not to feel fried before you start. Have a glass of wine and try to relax (I know it isn’t a relaxing time…)
Everything is framed and lablled.
Price lists are up and available.
Snacks are out in bowls, there are flowers on the tables.
Your labelled sketchbooks, priced cards and prints, and portfolio are all good to go.
You know where your float, receipt book, and packaging materials are.
Wine glasses lined up and drinks and bottles opened (don’t forget a corkscrew!)
If possible, bring a friend to serve wine so you don’t need to worry about it.

Ready for the Private view – glasses lined up, flowers, portfolio…
Show time!
No-one can tell you how to behave at your own private view. Saying that, it’s important to be friendly, be confident, and be gracious if anyone chances to compliment your work. If you expect no sales then you’ll be delighted if you do sell. No-one wants a hard sell, so give people space to look at and discuss your work without you breathing over their shoulders. Make yourself available for conversation and SMILE.
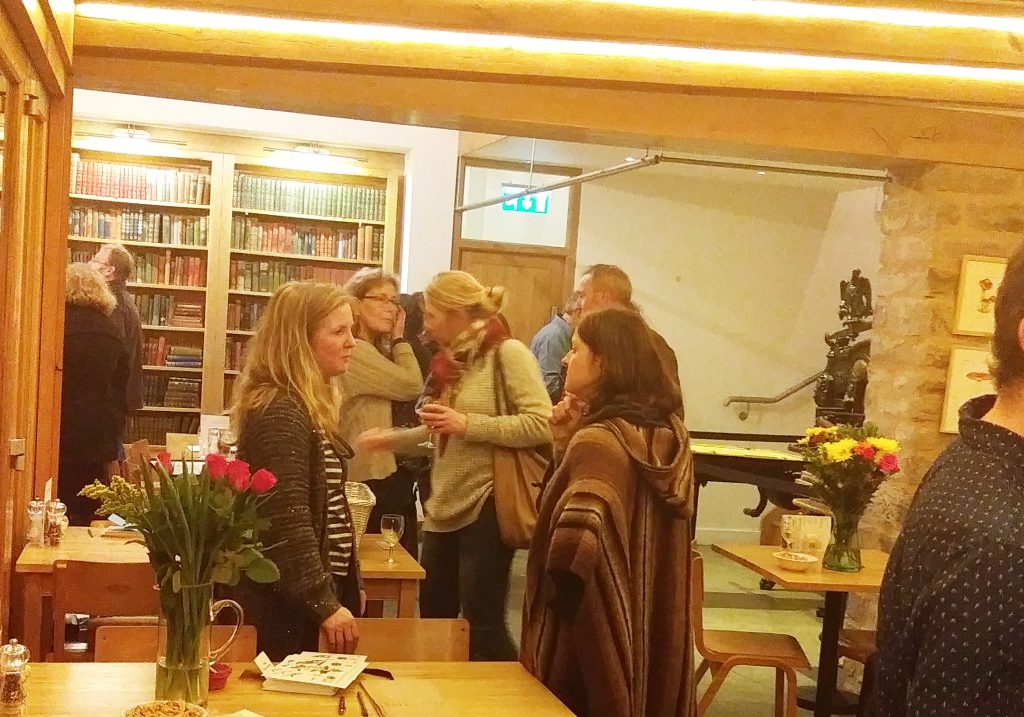
People chatting and peering at paintings: a recipe for a perfect private view
After the Private View
After, you may need to update price lists with red dots, and certainly will need to sort wine glasses, washing up, and putting things away.
Don’t forget that the exhibition will run long after the private view is over, continue to pop in to see everything looks ok, to top up business cards and greetings cards, to clean finger marks off the glass.
And when you finally come to take down the show, be as careful wrapping your framed pieces as you were when you brought them to the show.
If you don’t make many sales there’s a silver lining: less framing costs when you have your next exhibition!
Good luck!
Lizzie currently has an exhibition at Booth’s Bookshop Cafe , 44 Lion St, Hay on Wye, Herefordshire that will run until March 2nd 2018. Please email her on info@lizzieharper.co.uk if you need more information.

