

Leaf painting workshop
I recently taught a day-long session on how to do botanical illustrations of leaves, focusing on mixing greens and leaf form. The workshop was at The Walled Garden in Treberfydd. We set ourselves up in an airy glass house, and had ready access to the enormous variety of beautiful plants Alison grows and sells at the nursery.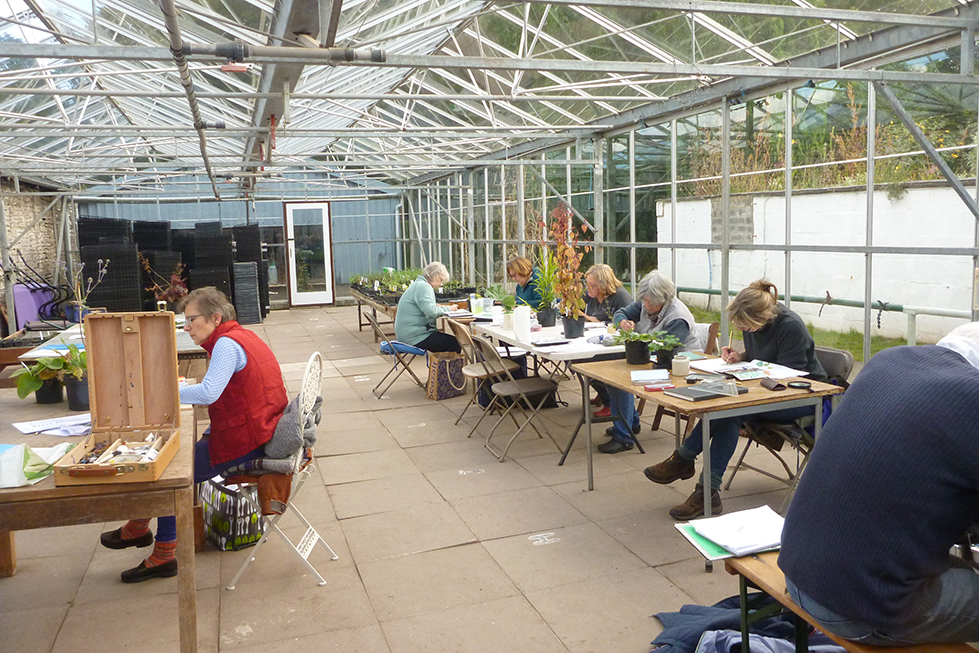
Glass house and students at work
Mixing Greens
After some initial work on form, we had a look at mixing greens.
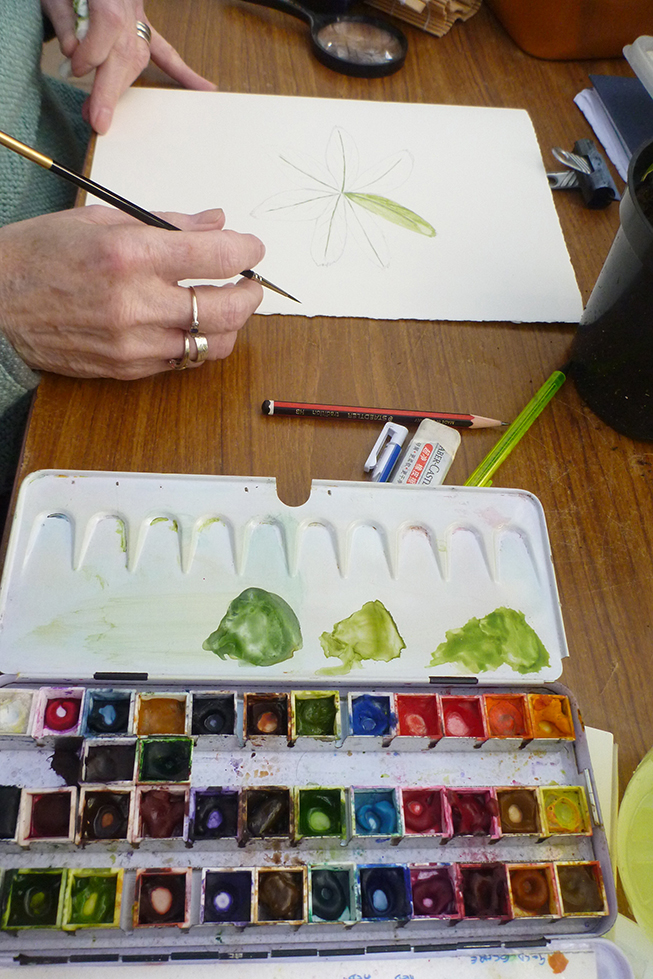
When I’m illustrating, I’ll choose a leaf and try to mix a colour that almost exactly matches it, even painting a little of the mixed colour onto the leaf itself to see how well it blends in.
I tend to keep adding colours to a mix until it matches the leaf I’m painting; some of the students were surprised at this approach as in many traditional botanical illustration classes, only three colours are ever mixed at any one time.
The benefit of such a “rule” is that it’s easy to keep track of your componenet colours, however, I reckon that if mixing four, five, or nine colours together gets the desired shade of green, then that’s probably fine too.
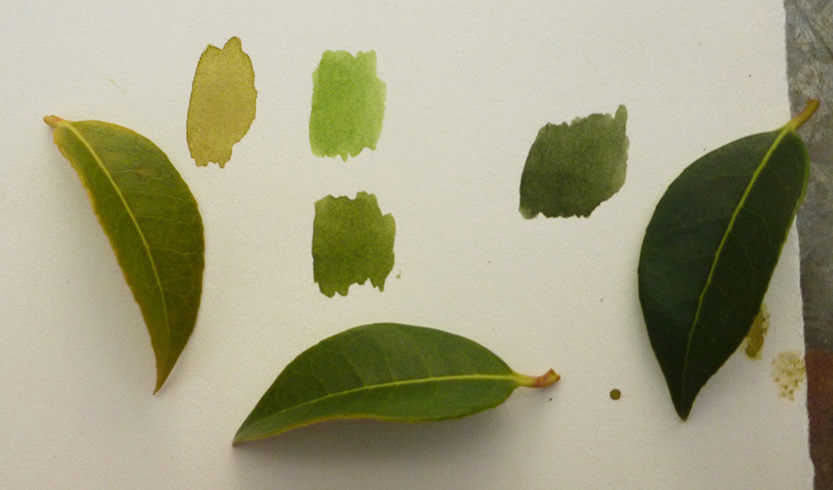
Mixing greens to match different shades on leaf from the same plant
I also encouraged the students to see just what variety of the colour green they could find in plants in the nursery; below are just a small sample of variety of leaves we found.
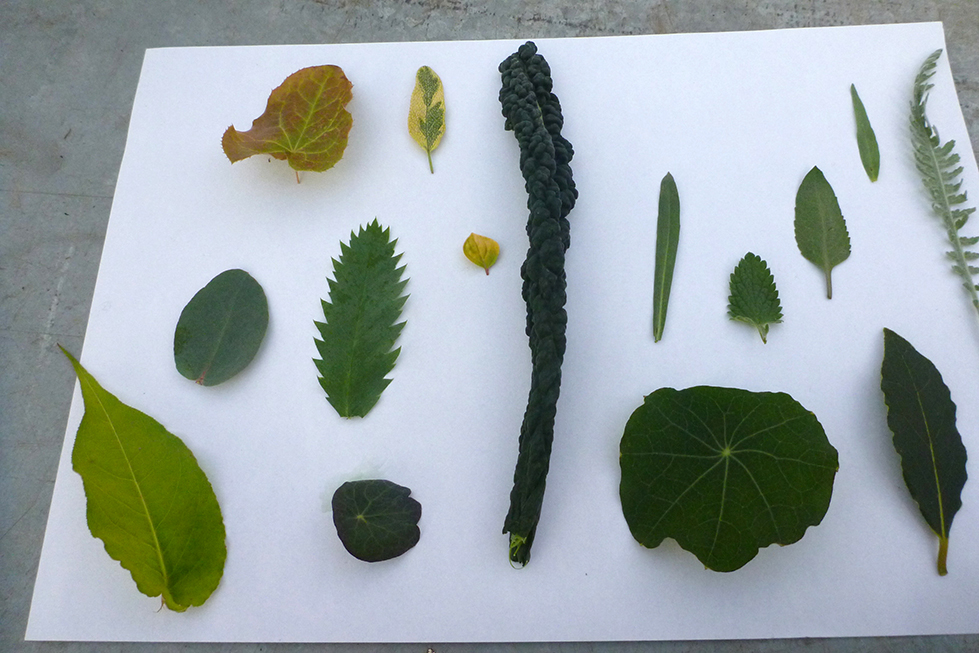
Leaves from plants in the nursery showing an amazing array of different greens
For more on mixing greens, please check out my blog.
Step by step process of painting a leaf
Next, I showed the group a step-by-step illustration I’d done earlier. I break down the building of greens into separate actions. I block in the darkest darks first, then temper the sharpness with a slightly lighter shade, before coming back again to work into the deepest shadows at the end of the painting.
For a detailed breakdown of this, please check out my step-by-step leaf painting blog.
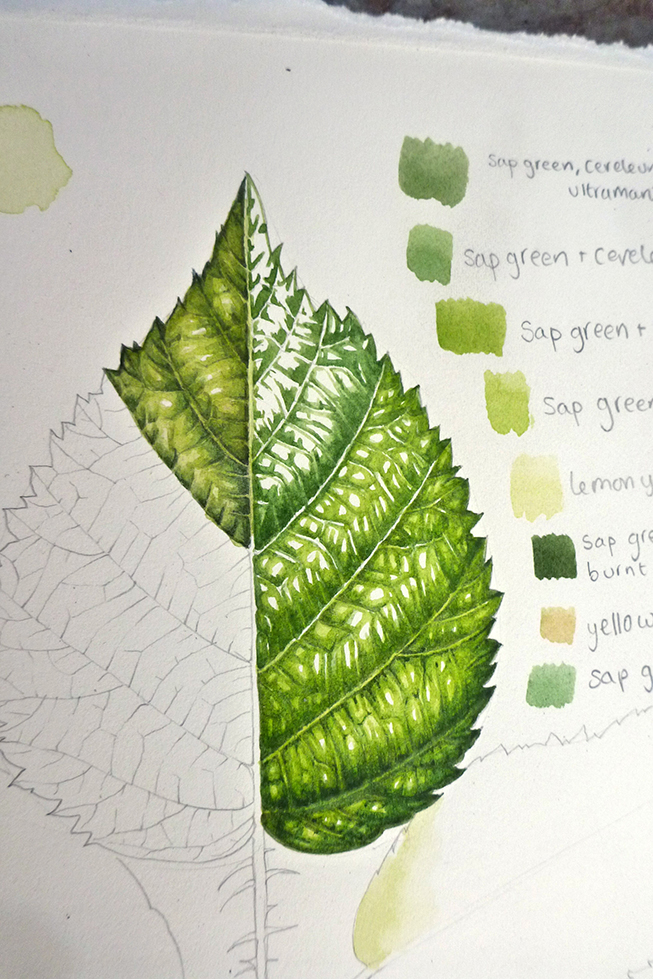
Step-by-step illustration of leaf, progressing steps from leaf tip to base of leaf
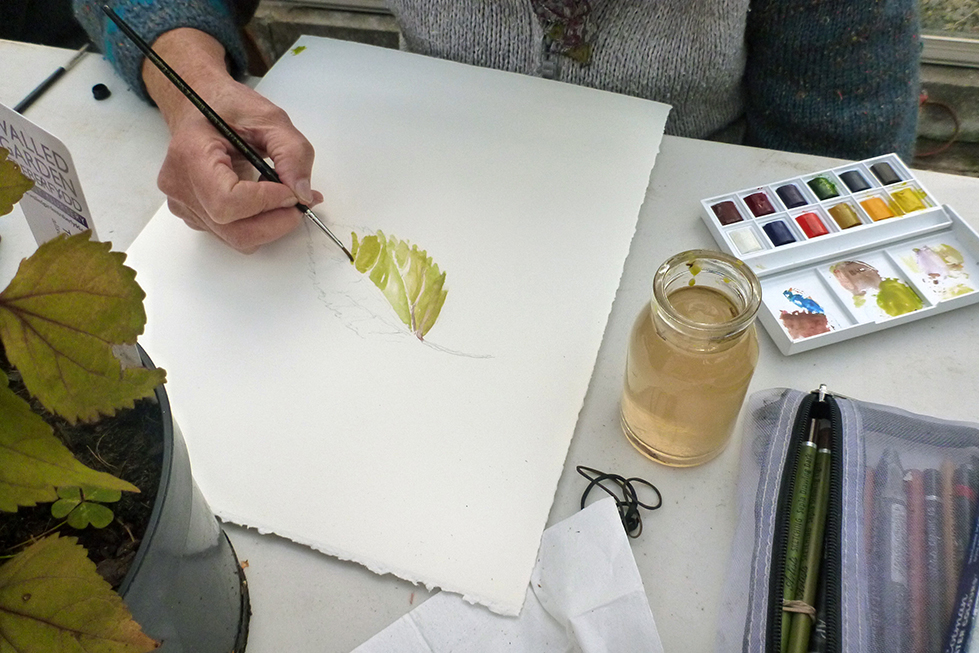
It seems this is an unconventional approach, but the group were all willing to give it a go. After talking about the process, I did an on site demonstration (the top left hand side of the leaf) so they could see the colour and tone building up.
I encouraged them to go and choose leaves from the garden to work on. They became completely absorbed in their work; picking out areas of shadow and matching greens with the leaf blade hue.
Student Illustrations

Student illustration: plotting in the initial dark areas of a leaf
As always, it’s important to make sure the white of the page isn’t swallowed up with colour. I tried to get them to keep the paintings pale to begin with.
Student illustration: Plotting the shape of the leaflets, and keeping greens light and bright
Once the darks were in, a diluted wash of the same colour is applied to soften the edge of the shadows. Generally, veins and midribs seem paler than the leaf blade. Sometimes they are a very different colour, so these remain white til later on in the painting process.
Student illustration: Close matching of greens. Plotting in slabs of colour on the illustration
Adding details to the illustration
There was a wide variety of styles and experience on show. Some of the studies were bold whilst others were very delicate. To get the intricate details, I lent many of the students some of my series 7 number 1 Winsor and Newton brushes which hold their tips beautifully.
Student illustration: Using a wash applied with a Series 7 brush
By the end of the session, many of the students hadn’t completed one leaf (these things take time!). Despite this, all seemed to think the experience, the demonstration, and most of all the space to focus on a portrait of one single leaf had been worthwhile and interesting.

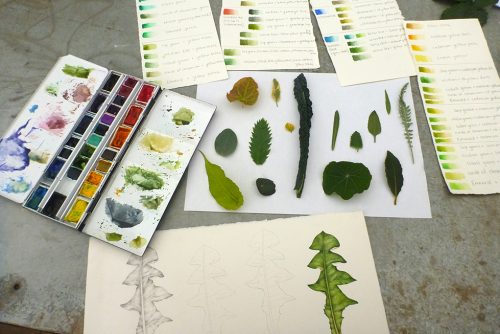
Study aids, my watercolour paintbox, sheets of mixed greens, and studies of dandelion leaves used to explain the steps involved in illustrating a leaf.
Magnificent work, I love the realistic look, I wish I could follow your teaching, where about you are located?.
I love painting as well, but I think we never know everything, so is always good to learn new techniques, love your painting.
Hi Liliana
Thanks so much for your comment, and generous words.
I’m based in Hay-on-Wye, a little market town between the Welsh hills and the farming countryside of Herefordshire, in the UK. To be honest, I dont teach that often, but when I do I post workshop details here: https://lizzieharper.co.uk/teaching-workshops-dates-for-2019/
I know exactly what you mean about wanting to learn from other folks who can do the same sort of art work – everyone approaches it in a slightly different way, and that’s what makes learning more so totally tempting!
Thanks again and all the ebst
Lizzie
I enjoy your work so much! Love watercolors as well and flowers. Detail. Fun
Hi Patty, you know what, it IS fun. I love doing the illustrations, and playing about with some of the colour mixes is a whole lot of fun, you’re so right to point that out! Thanks for the comment, and for being so positive about my work, it’s very gracious, and lovely to hear.