How to Draw: Sycamore Leaf
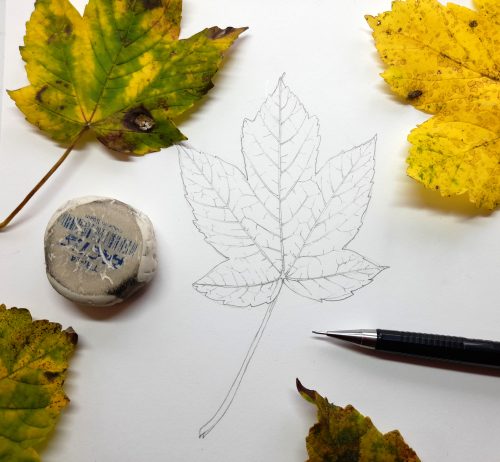
Drawing is at the heart of being a botanical illustrator. You need to be able to record what you see accurately. Recently, someone who subscribes to my Youtube Channel asked me to do a film on the subject “How to Draw”. This blog is to go alongside the film.
Choose a subject
I chose to illustrate a Sycamore leaf, in autumn colours. This really was a case of killing three birds with one stone. I wanted to think about drawing and make a film, I’d had a separate commission to illustrate an autumn leaf, and FOR Sweden had commissioned me to do sketchbooks studies of, amongst other plants, the Sycamore.
I’m also fond of Sycamore leaves, there’s something very lovely about their palmate shape. They’re also really easy to get hold of!
Sketch a basic shape
When I draw, I often just pick up a pencil and start making a line. However, I think this only comes with lots of practise, so wanted to show how I’d tackle the leaf if I wasn’t feeling confident.
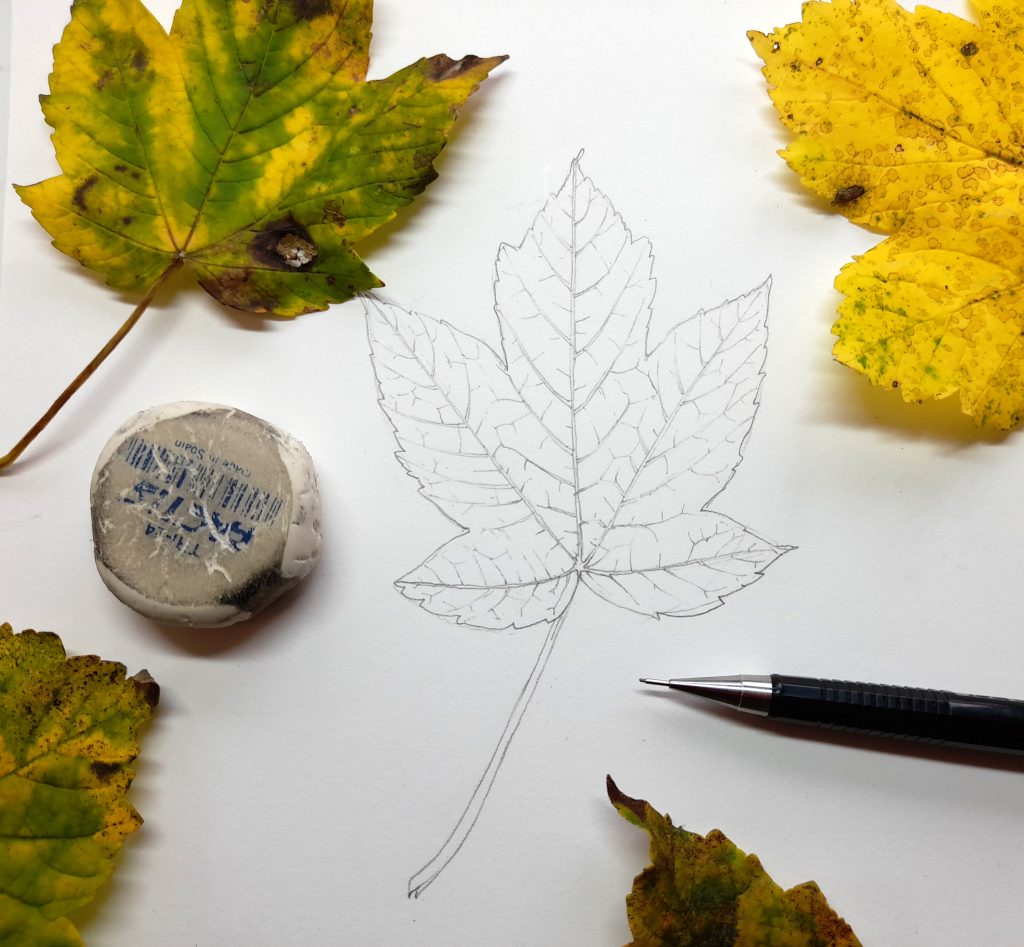
First, I plot in a very basic shape. I use incredibly light pencil, and very little pressure. This shape shows the form the leaf will fit into, and I find adding the central vein and stalk, even at this preliminary stage, helps.
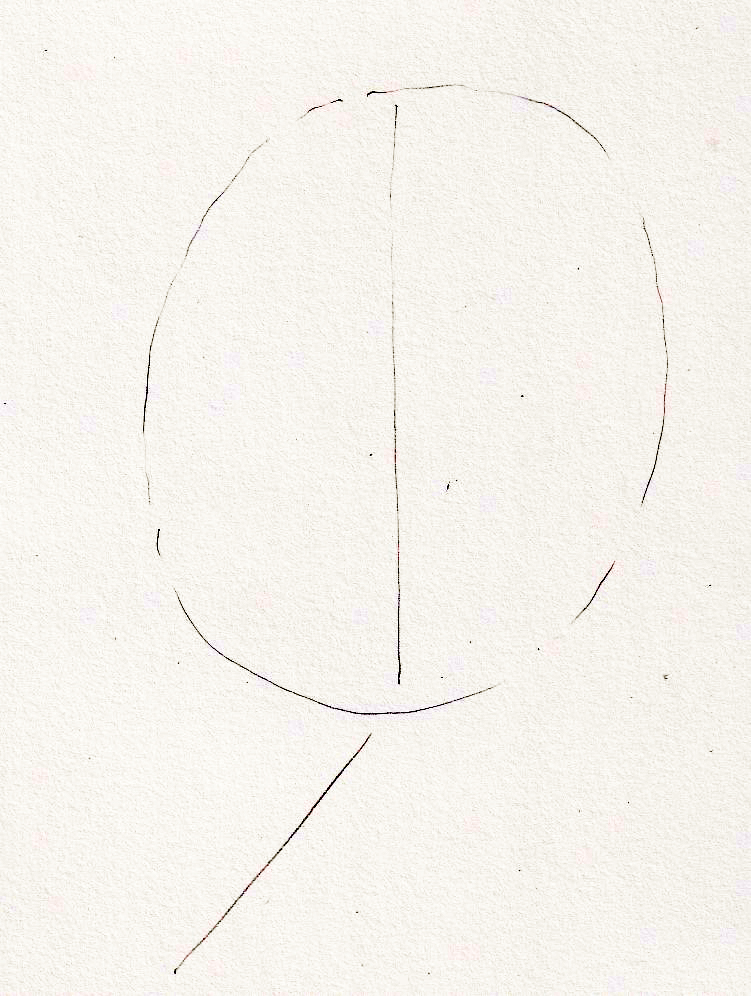
I’ve increased the contrast in the scan so you can actually see the pencil lines.
Use the veins to guide you
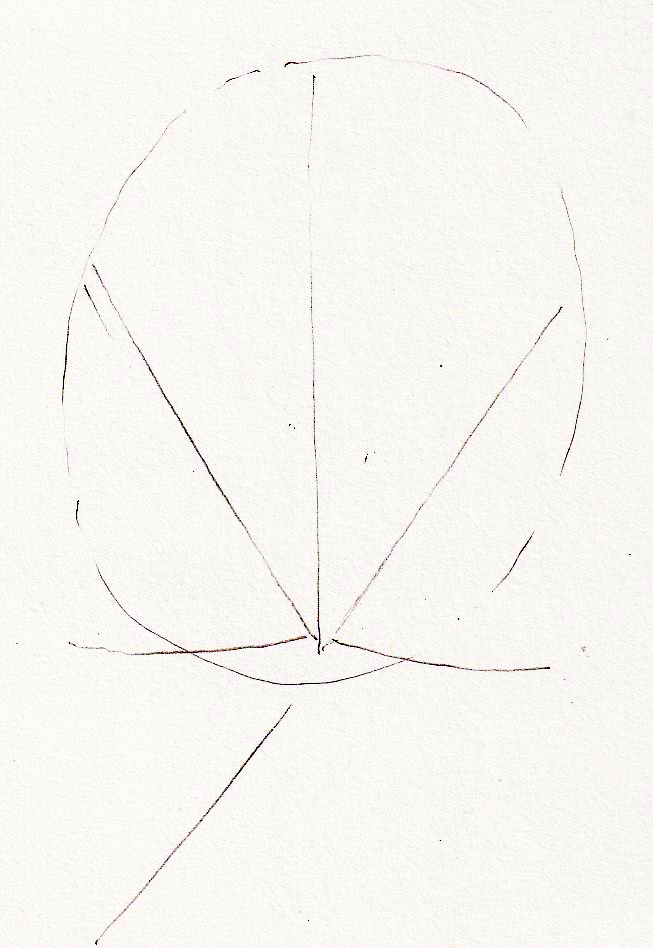
Next I plot in the veins, working hard to get the angles correct. Again, this is really light pencil as I’ll be redrawing the veins in more detail a bit later on.
Roughly add the outline of the leaf
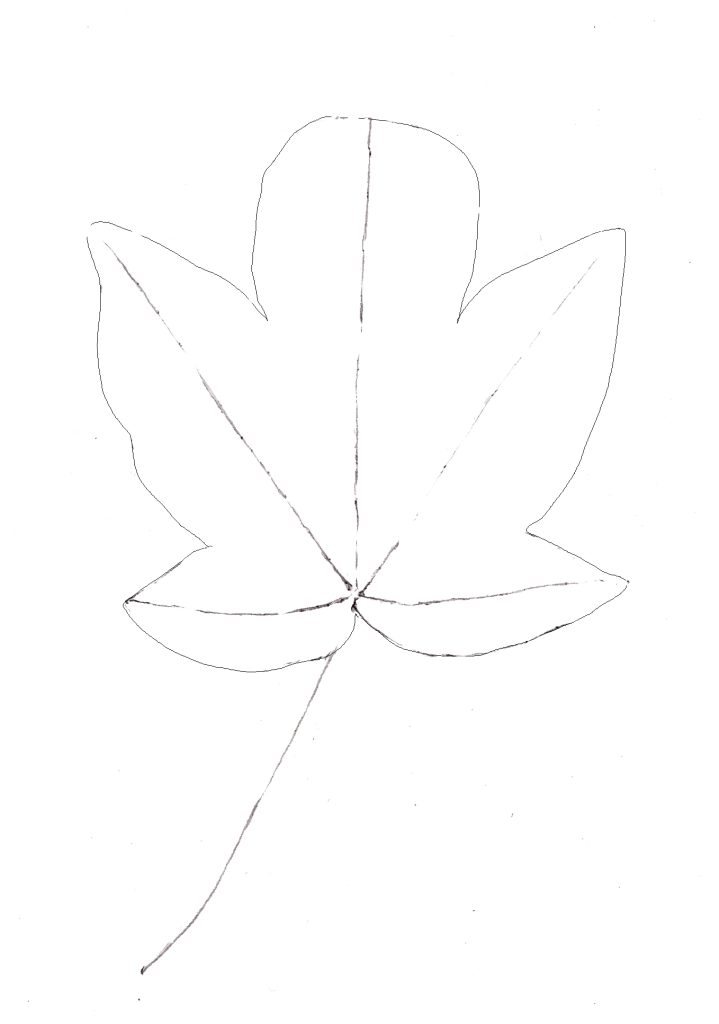
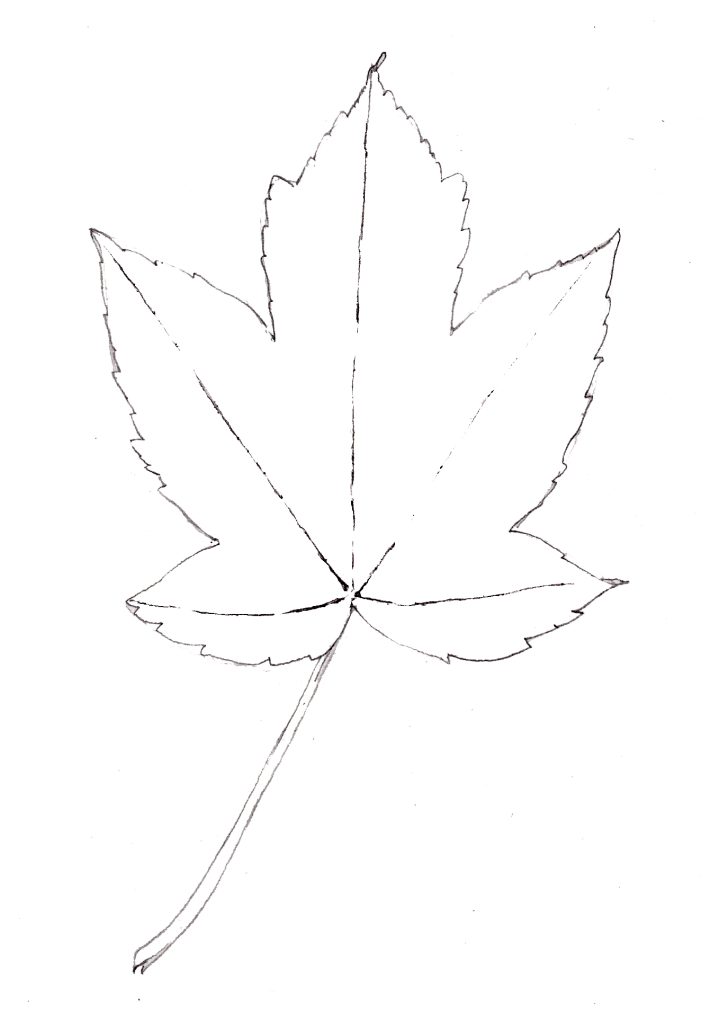
Finding the edges of the leaf is the next challenge. Sycamore leaves have 5 lobes, each with a central vein. Figuring out the basic shape of these, and how they relate to each other means looking really hard at the specimen.
The places where the side lobes join the rest of the leaf line up, this is helpful.
Add Detail to the Leaf Margins
Next, work into this map. This means looking at the margin of the leaf, and recording each individual tooth as accurately as possible. Leaf margins vary from species to species, so getting this right matters. Sometimes teeth are blunt, closely spaced, double-serrated… Take a close look and record what you see as accurately as possible. For more on variety in leaf margins check out my blog.
Add More Detail
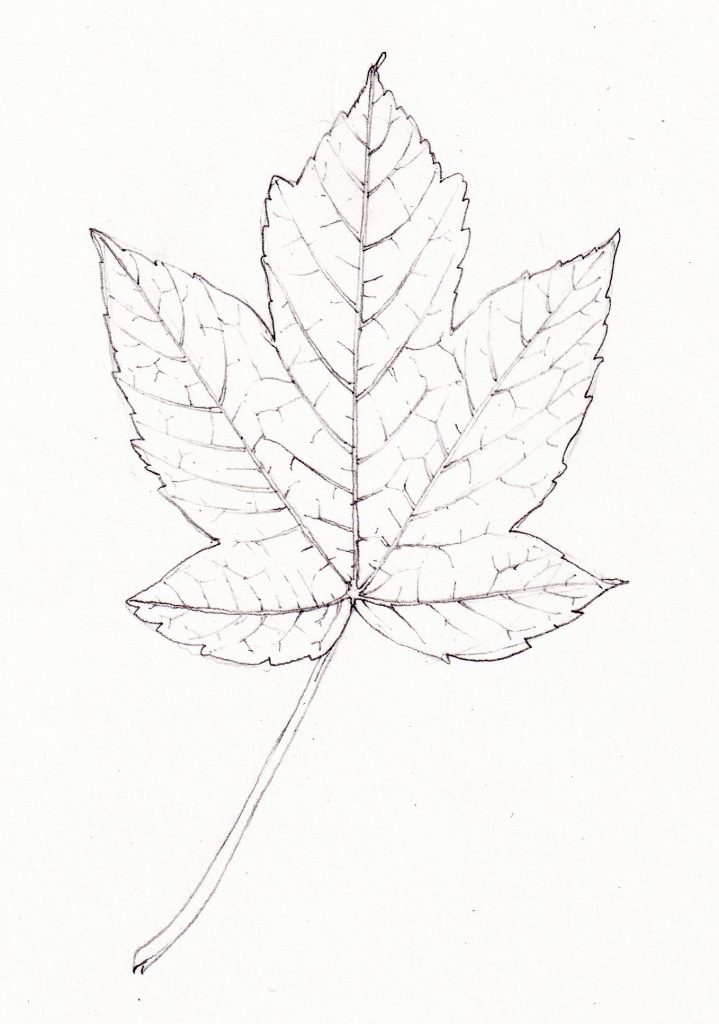
The shape of the leaf is done, now you can add detail. Look for lateral veins, and smaller veins coming off them. Try and remember to fit form to function. Leaf veins carry vital minerals, water, and nutrients to and from all parts of the leaf blade. This explains why the network of veins is so thorough, it’s a similar function to our own circulatory system. Remember this as you draw.
Finishing up
It can be hard to know where to stop with a line drawing. The more you look, the more you see. If you’re not careful you can get really lost in amongst the network of tiny, intricate veins. It’s a pleasant way to spend a few hours but may not tie in with what you want from your drawing.
This Sycamore leaf is a pencil drawing which I’m going to paint up in watercolour, so too much pencil detail isn’t that desirable. I want enough there as a guide, but not so much that it compromises the paint that’ll be laid on top of it. (It’s worth mentioning that with some smooth watercolour papers, such as this one, you can erase pencil lines once you’ve finished painting.)
Equipment
For this drawing I worked on Fluid 100 hotpress watercolour paper. This is cause I’m going to add paint at a later stage. If I were doing a pen or pencil drawing without paint, I’d use Daler Rowney Heavyweight paper. I love mechanical pencils, sometimes called propelling pencils. They have sharp nibs and you can keep these sharp by simply breaking the lead off as you draw. This means you don’t need to keep stopping to use a pencil sharpener. I use Pentel P205 pencils with 0.5mm lead, HB or H. Factis make great erasers, I love their triangular ones.
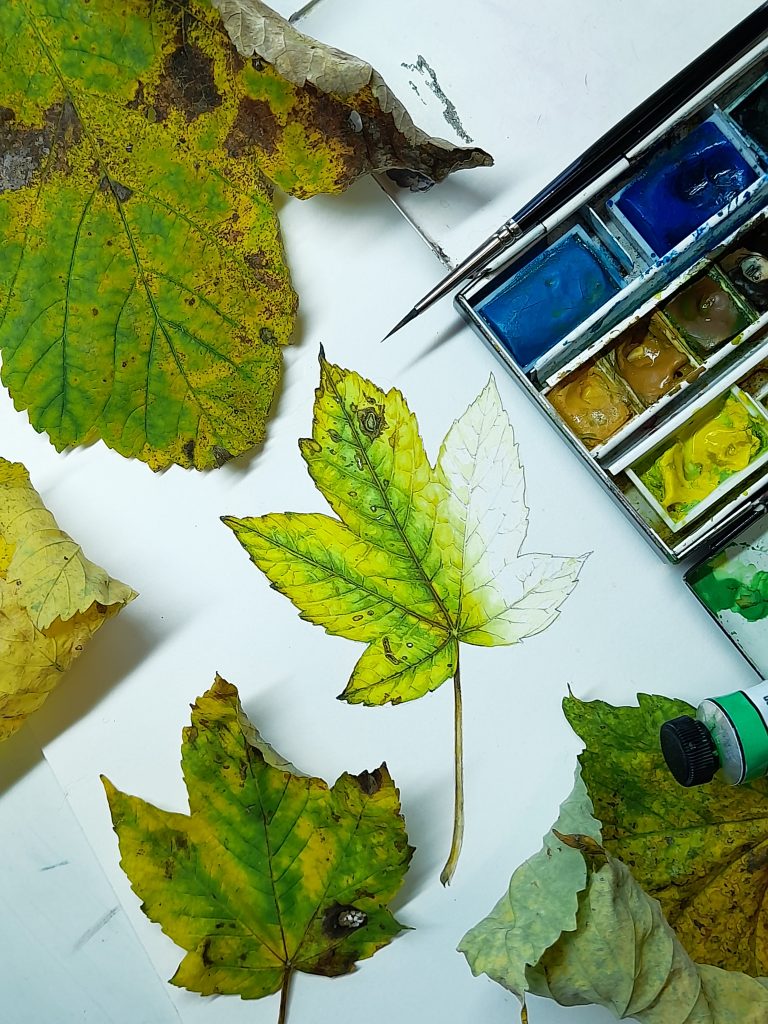
Below is a photo of the line drawing once I’d added colour.
Conclusion
The main thing to remember at all times when you’re drawing is to draw what you see rather than what you believe is there. Drawing is all about looking. Once you start to see things right, then recording that is simply a matter of practise. You train your brain to translate what you see into lines on the page. Like catching a ball, or any other activity requiring co-ordination, it requires practise to get good. The most wonderful part about it is that the more you do it, the better you get!
Feel free to browse my blog on why drawing is vital , and on doing natural history and botanical illustrations in pencil. Finally, you may want to have a go at my guest blogger’s seven exersises which help ideas on how to practise your drawing skills.
And, as promised, here’s the film of me drawing this leaf in real time:


so excited to find you blogs. so much to see!
Thank you so much, Beth!
That was wonderful! Thank you very much.It is such a treat to be able to view someone so knowledgeable and how you explain everything along the way is rare indeed!
Hi Judith, thank you SO much for such positive feedback! Im glad it’s useful. Ill be publishing the accompanying blog on “colouring it in” with watercolour tomorrow, so hopefully that might help too.
Thanks for your generous comment and for taking to time
Yours
Lizzie