Botanical Illustration: Working from Photo reference
As a natural history illustrator, you often get asked to complete botanical illustrations of plants which aren’t in season, or bloom. This is where sketchbooks, filled with notes prove invaluable. But what if you’re asked to illustrate a botanical subject you’ve not got notes on, and which you can’t get hold of? Use a photo.
The first thing is to be totally sure you can’t get a specimen. It is so much easier to draw plants from life than from photos; you can rotate them, dissect them out, magnify them. You can beg, borrow and steal plants. Often gardeners are more than happy to give you a sprig of plant to work from.
However, it’s sometimes impossible to get a specimen. This was the case in a recent commission for a client in Saudi Arabia who wanted Bourgainvillea (Bourgainvillea glabra pink) and the Desert rose (Adenium obesium) illustrated.
Using photo ref to illustrate a Bougainvillea
The internet is an amazing resource. Google images, Wikipedia, Universities, Botanical gardens, and horticultural organisations; all of these sites have pictures of most species of plant. The trick is to ensure the photos you’re looking at are typical, and botanically accurate; then to collate these images into a coherent visual whole.
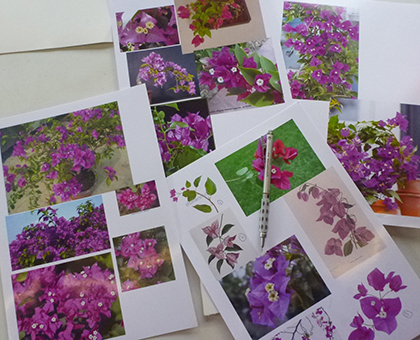
Photo reference for illustrating the Bourgainvillea
After getting several pages of varied reference; some of the plant habit, some of leaves, some of flowers from various angles, and always including scientific illustrations done previously; I come up with some very rough thumbnail sketches.
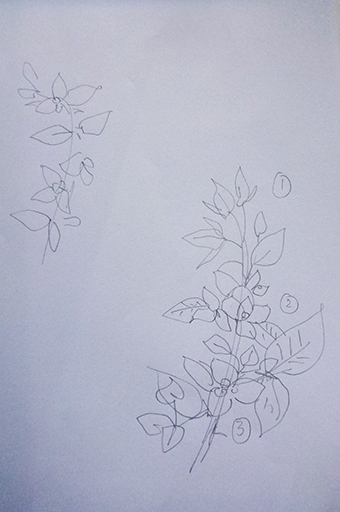
Thumbnail sketches of the Bourgainvillea
These give me some idea as to the shape the drawing will take, and where I can include different elements from different photos.
It’s vital to treat this activity carefully, refer to a variety of written botanical descriptions to ensure you’re not making any errors, from several different sources.
Piecing it together, like a jigsaw, you gradually build your plant. Remember to be as accurate as possible, but also to ensure the illustration works as a composition.
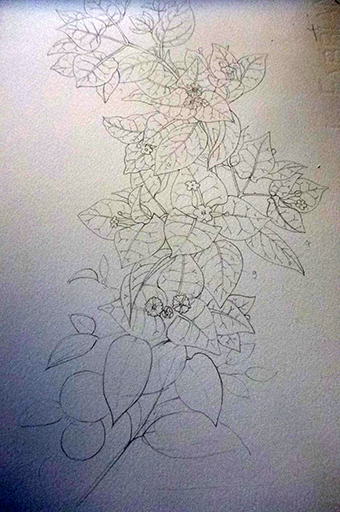
Positional skech of the Bourgainvillea plotting out the composition before filling in the details
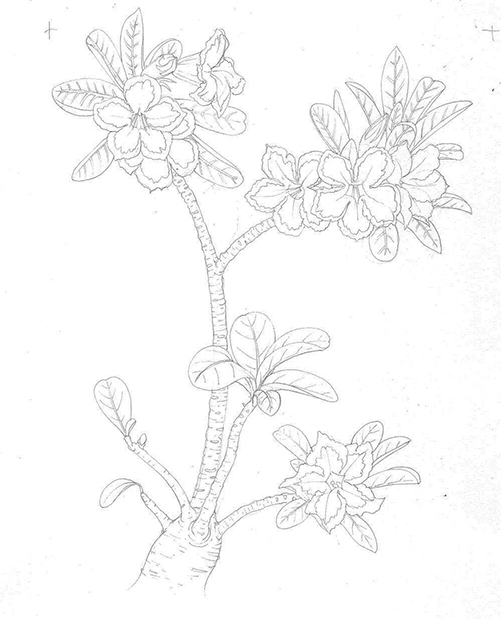
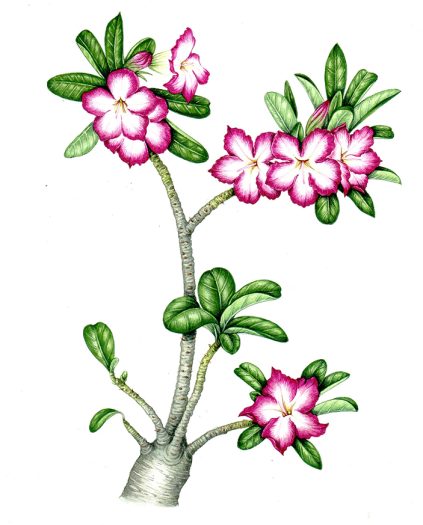
The same process was repeated with the desert rose, I particularly wanted to include the thickened stem as it is diagnostic and also so functionally vital to the plant.
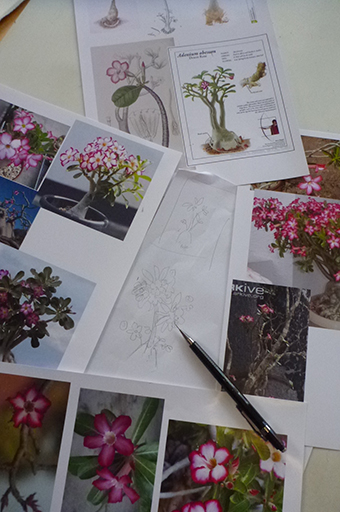
Assembled photo reference for the Desert rose illustration, with thumbnail composition sketches
Then I send off the pencil roughs to the client for approval.
Using photo ref to get colours right
Rough of the Desert rose Adenium obesium
Once feedback has been received and taken on board, it’s time to apply colour. This is a minefield. How can you get the colour of a blossom right if it’s not in front of you? How to compensate for the variation of shade in monitors, cameras, other paint colours? Again, it’s a matter of looking at a wide variety of different references and trying to go with the most prevalent variation. Greens are especially tricky without a leaf in front of you; referring to verbal descriptions can be enormously helpful.
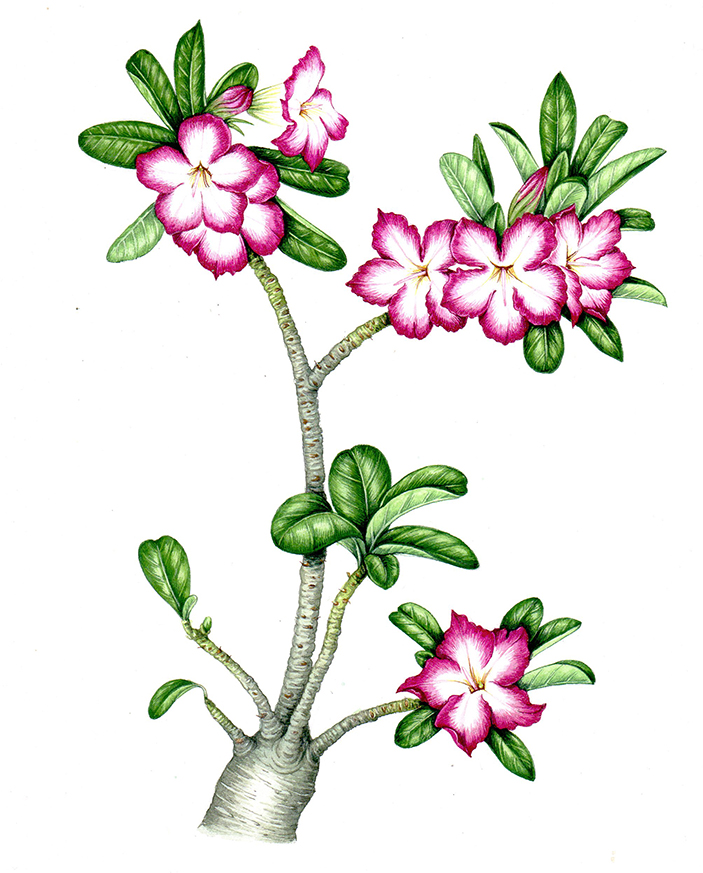
Final of the Desert rose
At the very last moment I was saved with the Bourgainvillea as a friend emailed to say she had a plant right outside her bar. I rushed over on my bike and took a sprig, and thus I was able to nail the correct pinks (and they are insanely pink) thanks to having the specimen in front of me.
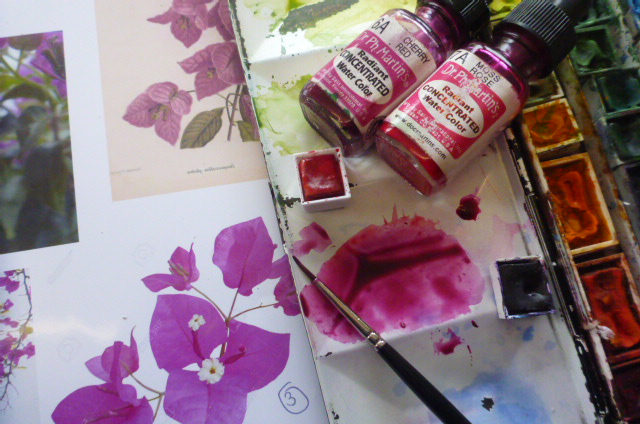
Mixing up the colours for the Bourgainvillea final
Although the finished article may well be a decent piece of work, I always feel that it could be even better had a specimen been to hand from the beginning of the illustration process.
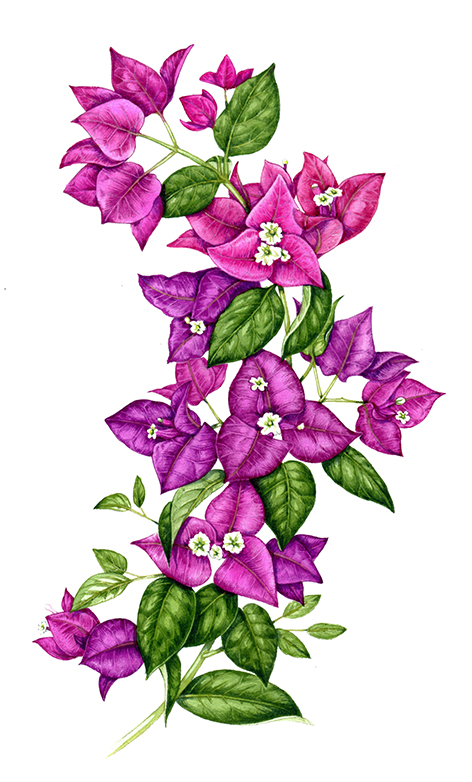
Bourgainvillea final
It’s hard to get the feel of how the plant grows unless it’s there to be observed. The best way to do this is by using extensive different references. Live plants to draw from and dissect out are always a lot easier to work with, and often produce superior results. But hopefully this blog explains how to get an illustration done without the specimen when you have to….


