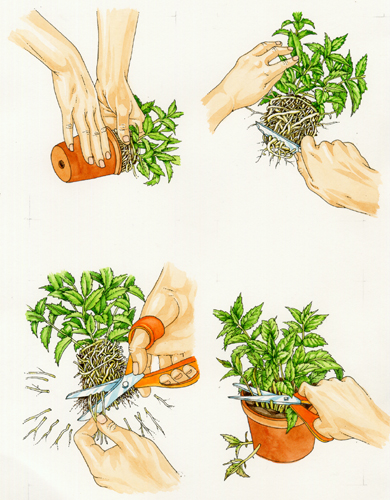
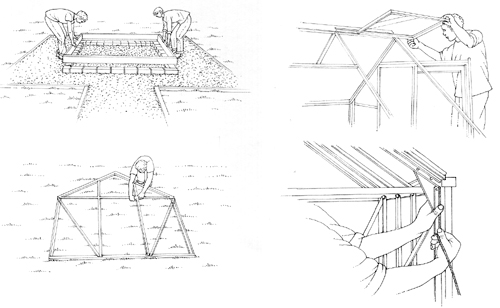
Gardening illustrations: Drawing hands
As scientific and botanical illustrators; it’s unlikely that you’ll choose to draw hands doing the steps involved in various gardening techniques unless you’re getting paid for it.
Why draw hands?
However, there are benefits to taking on this sort of work. It can be quick, the pay’s not too bad, and I know a great deal more about gardening now that I did four years ago. One of the unexpected benefits is that you HAVE to lean how to draw hands.
Commissions where I’ve had to draw hands
The illustrations in this week’s blog are taken from the How to Garden series of books by Alan Titchmarsh, those I’ve done over the years for Rodale Publishing, and the coloured ones are to be used in Rodale’s 21st Century Herbal by Michael Balick, soon to be published.
Get it right…and go un-noticed
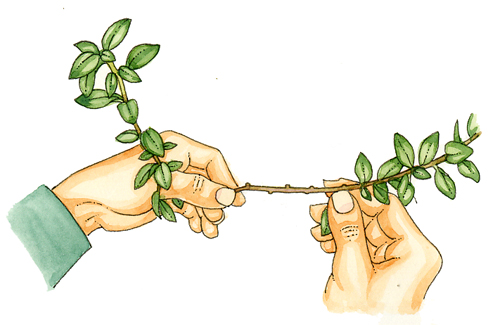
The thing is, you need to be able to draw hands well enough for them to be ignored. This may sound peculiar, but because all of us have hands we are all incredibly aware of exactly how they look. More pertinently, we know how they don’t look. The smallest slip of line or shadow, and the illustration leaps out as the viewer as being just plain wrong. This hand below isn’t completely wrong; in fact, in most aspects it’s right. However, when shading the space next to the thumb I used too many paint marks. I think it compromises the integrity of the illustration. You notice it, because it’s not perfect.
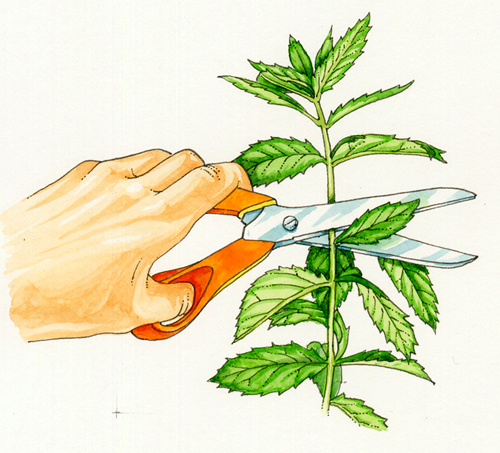
Hands in step by step illustrations
With gardening step-by-steps, the viewer needs to focus on the information the images hold, the instructions they give. Hands are only one part of that, so although they need to be present and they need to be right; they also need to be unobtrusive.
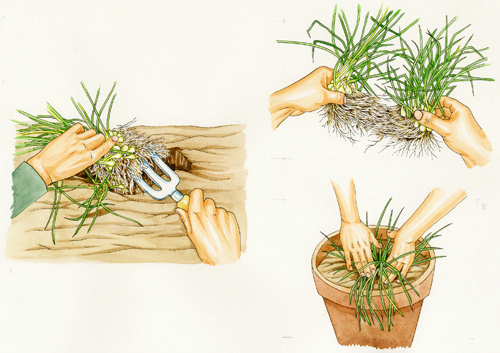
Hands by the Old Masters
So how do you draw a hand? Well, having issues with this puts you in good company. In fact, drawing excellent hands is so unusual that we notice brilliant images such as Durer’s praying hands, or Leonardo da Vinci’s studies.
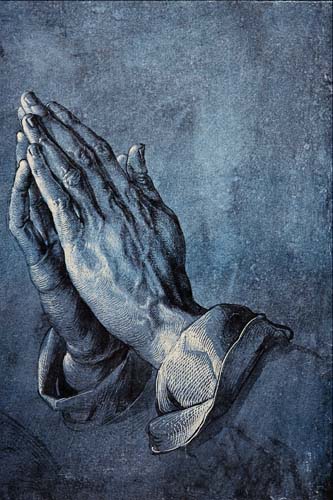
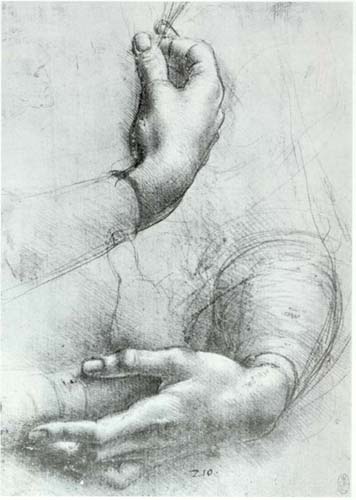
Use your own hands for reference, and try online tutorials
A good place to start is to look at the anatomy of the hand, and think about where the joints are. I find the best thing to do is to use your own hand as a subject for sketchbook studies. Try drawing simple line drawings of your hand in loads of different positions. Get used to the ways it bends and how the light falls on it. Bear in mind the different lengths of the fingers and the sinews attaching each finger to the hand. Look at the folds in curled fingers and the shape the nails make at different angles. There are loads of brilliant lessons on drawing hands online; one of the best is a collation of about 35 lessons and tip. You can find it on the “Drawn in Black” illustration site (How to draw Hands).
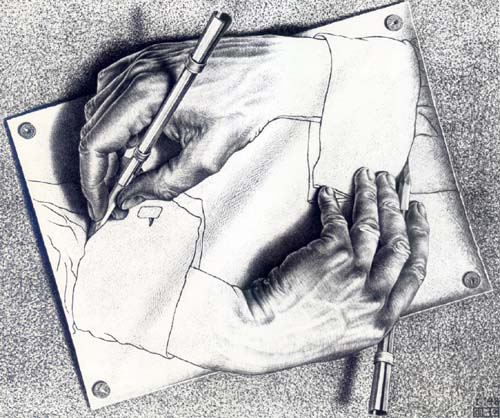
However, what happens when you need to draw the hand you normally draw with? Tricky (unless you’re M.C. Escher – see below). I tend to use photos.
Using photos as reference tools
Using photos as reference is a whole topic in itself; you have to be careful not to blindly copy mistakes caused by odd angles, blurring, or lack of definition due to over-exposure. They can also be an incredibly useful tool.

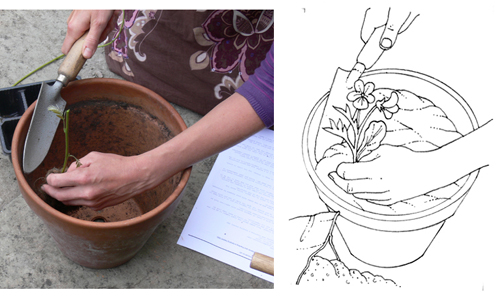
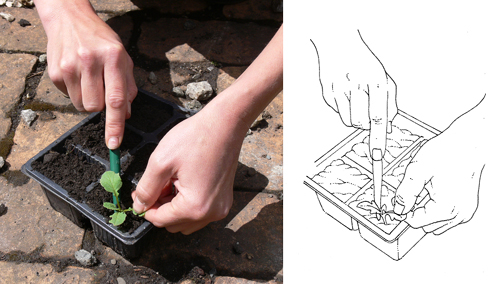
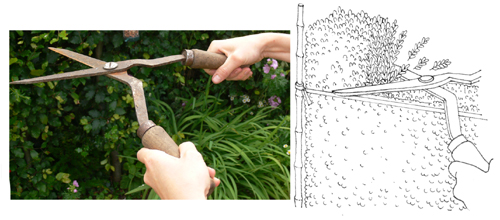
Not only can photos really help with the hand itself, but can also prove invaluable when drawing other things. Snipping with scissors, holding a trowel, or using clippers; you can see the interaction between hand and object. Obviously, you often need to tweak the photo reference to make it fit the context perfectly. My reference files are full to bursting with photos of me (or other family members) pretending to dig holes, prune roses, water seedlings, or lay turf.
Whose hands should you draw and photograph?
An interesting point here is that I’ve learned over the years that some hands are far better subjects than others. The hands of my (long suffering) partner are those of a carpenter, and as such are strong and large. However, when I draw them they look chunky, shapeless, and blunt. Women’s hands tend to be more slender, and look far better when drawn. So there are often times when the main illustration will indeed be my other half, but I’ll have replaced his hands with my own. Thus far, no-one’s bothered to complain (or notice?)
Trying different mediums
Once the hand looks right, and the client says it’s good to go to final, you need to take it to completed illustration without messing up, whatever the medium.
Here’s a trial sheet done for Rodale, where we were considering which medium to work in.
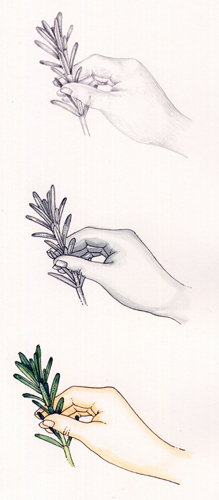
Despite having done gardening illustrations for them before in pencil (as below) for The Vegetable Garden Problem Solver by Fern Marshall-Bradley and Homegrown by Marta Teegan, this time the art directors settled on pen and ink with a colour wash.
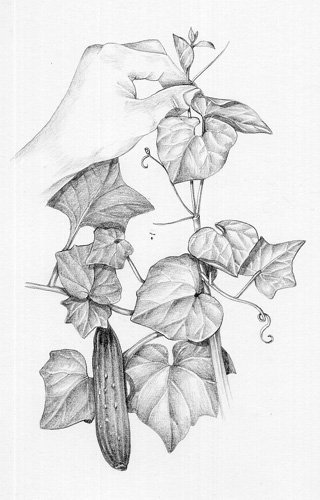
Hands: Less is more
Drawing the final, the main rule is that less is more. The less lines and detail you put in, and the fewer marks you make, the better the final hand will look. This actually means than each hand illustration consists of a very few lines; the knock-on being that every millimetre of that line has to be perfect. I wouldn’t for a second suggest that my hand illustrations are perfect, far from it, but I do believe they’re competent enough to be ignored. And to be honest, that’s all that I need them to be.
