Illustrating Iridescence
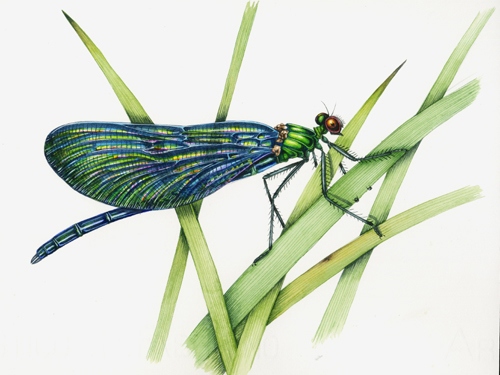
Mechanics of Iridescence
There are many subjects in nature which are extraordinarily beautiful. Animals which glint and gleam with iridescence are definitely one of them. However, in order to take on the (not inconsiderable) challenge of illustrating iridescent creatures it’s important to have a basic grasp of the processes that cause these animals to shine and glitter as they do.
The Physical reasons for Iridescence
The colours seen in iridescence are not caused by pigment. They are caused by the physical interaction and interference between light waves and the object they’re reflecting.
These can be constructive light waves, which add to the light waves
coming from another proximal surface. This results in brighter colours.
Or they can be destructive light rays, which cancel out light waves coming from another proximal surface. These cause colours to disappear or produce no reflected light and thus create an area of darkness.
We see these effects in the rainbows of oil slicks, or on the surface of soap bubbles:
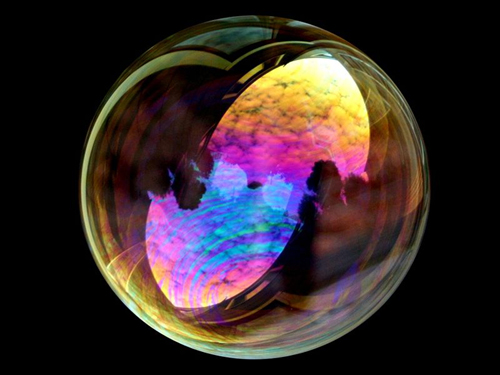
Interference
We only see these effects if they occur on two surfaces very close to each other. The light waves need to be able to interfere with one another. Think of the inner and outer layer of a soap bubble. In the case of insects, consider the inner and outer layer of a wing.

Constructive and destructive interference can occur at the same time and at the same point. Think of the areas of dark on a beetle, caused by destructive interference. These are often bang up next to gleamingly bright patches of shining colour. The shine is from constructive interference.
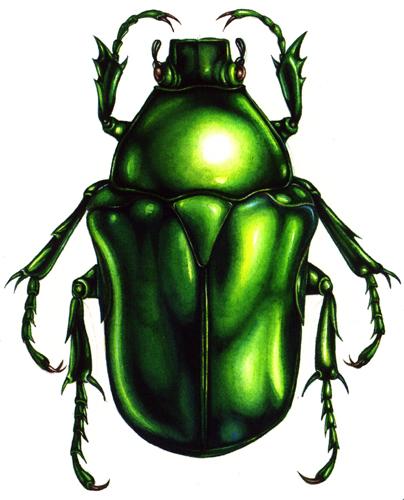
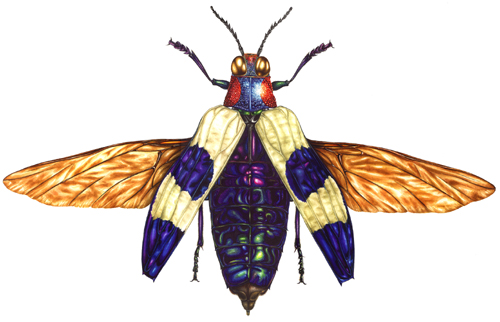
Helicoids causing Iridescence
Another way some birds, butterflies, beetles, fish and reptiles produce iridescence is by layering multiple micro-thin ridged layers ontop of each other. These are layered in a spiral or helicoidal pattern. Again, it’s the interference between light waves reflected from each surface that results in glorious colours. Helicoidal layers cause the vivid blue of a morpho butterfly wing.
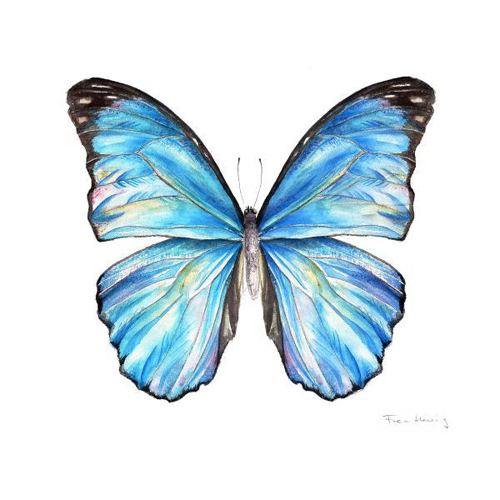
The more reflective layers there are, the brighter the colours produced by constructive interference will be. If all the layers are the same thickness you’ll get one colour reflected; if the layers vary in thickness you’ll end up with a gleaming silver, as with fish scales.

Looking at Iridescent objects
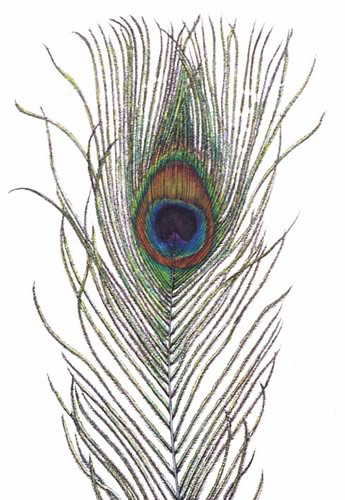
Although the colours may change as you look at your subject, their position relative to each other will not alter. Look at a peacock feather. In some lights the area around the eye looks bronze, in other lights it looks pink. The eye area will look azure blue, or bright grass green as you tilt it in the light. However, the relationship between the two areas of changing colour, their edges and margins, will not alter.
For more detailed infromation on the physics behind iridescence take a look at the Microscopy U website.
Illustrating Iridescence
When it comes to illustrating iridescence, it has to be about tricking the eye. One cannot reconstruct the interfering or helicoidal ridged layers using pigments. However all we can do is try to use pigments to convince our brains that our illustrations are iridescent.
The main trick here is to be accurate and bold in observing areas of bright colour, and of the darkest darks. The transition between these two extremes is swifter than within areas of bright pigmentation as they become darker in a shadow.
If there are two different iridescent colours on one animal, the colour transition is less abrupt than with pigmented colour. Keep the edges of the bright areas soft. Be sure these brightest areas are startling, and your darkest darks really intense.
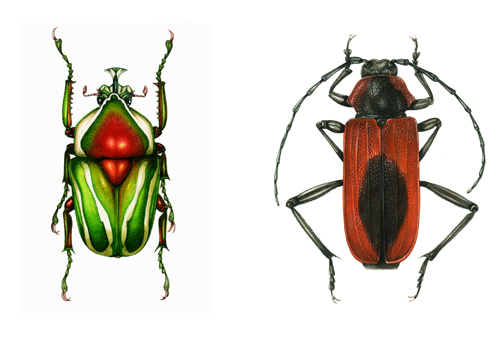
Observing the lights and darks of iridescence
When you come to the lightest areas, observe them carefully. Although they may be the lightest and brightest part of the specimen, they may well not be white. Iridescent highlights are often characterised by not being white.
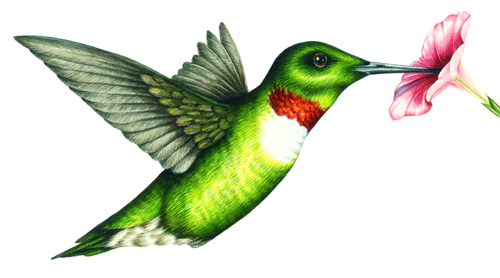
Copy the shapes of the areas of light and those of shadow as accurately as possible. Keep your brightest areas clean and crisp in colour. I use Doctor Martin inks which are extremely vivid (for more on technique please refer to my earlier blog.)
I have also tried using mica mixed in with paint; with only partially successful results.
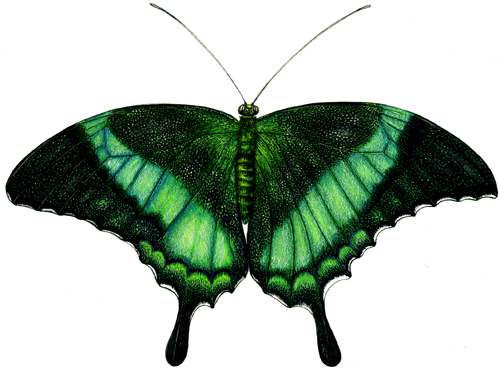
An illustration is a flat 2D image. Whether or not the shiny paint particles glimmer as you change your viewpoint is only relevant to someone with the physical painting in front of them.
Useful colours to consider using when illustrating iridescence are pinks near bright greens; and cold yellows next to greenish blues.
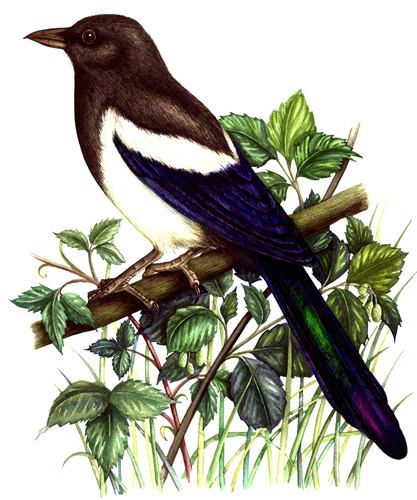
Good luck!
Many thanks to the excellent illustrator and tutor Sarah Morrish for suggesting this topic, and to Trudy Nicholson and T. Britt Griswold whose article in the excellent “The Guild Handbook of Scientific Illustration” edited by Elaine Hodges has largely informed this week’s blog.


This is fantastic and a great explanation for replicating the iridescent look of these animals. I am currently working on thus as part of my MA at the moment this is wonderful resource. Thank you
OOh Evan, that’s wonderful to hear! What a great topic for an MA. And good luck with it!